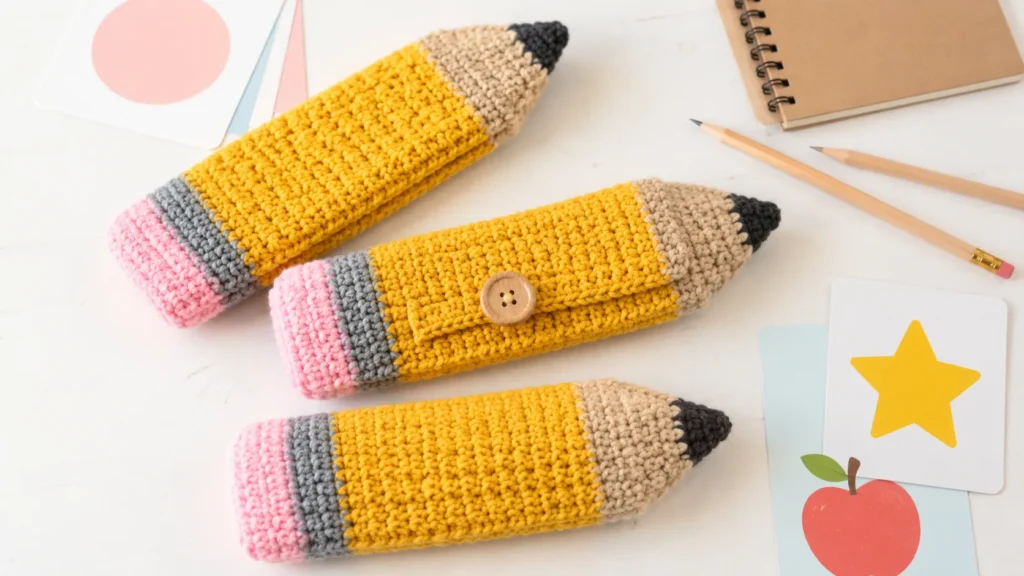
Back-to-school crochet patterns are perfect when you want something useful, cute, and giftable. A crochet pencil pouch is especially practical because it can hold pencils, markers, flashcards, small notes, or even crochet hooks. It is small enough to finish quickly, but it still feels more exciting than a plain practice square.
In this tutorial, you will learn how to make a pencil-shaped crochet pouch using simple double crochet rounds, color changes, a pointed flap, and a button closure. The selected visual reference is Winding Road Crochet’s pencil pouch tutorial, which is designed for school supplies and teacher gifts and includes instructional photos, material details, stitch information, gauge, sizing notes, and a video tutorial.
This article does not copy the source’s full row-by-row pattern. Instead, it creates a new original beginner-friendly teaching version inspired by the same construction idea: start with a foundation chain, work around both sides to form the pouch body, build pencil color sections, shape a flap, add a point, attach a button, and finish neatly.
What You’ll Learn
- How to choose yarn colors for a pencil-shaped pouch.
- How to start a crochet pouch from a foundation chain.
- How to work around both sides of the starting chain.
- How to build a simple pouch body in joined rounds.
- How to change colors cleanly.
- How to shape a pointed pencil flap with decreases.
- How to add a button closure.
- How to adjust the pouch for flashcards, pencils, or markers.
- How to finish the pouch cleanly for school use or gifting.
Materials You’ll Need
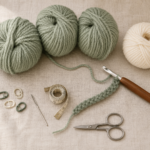
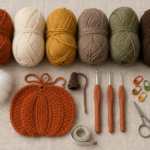
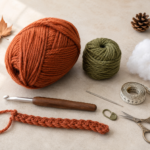
The reference project uses medium-weight yarn, a 4 mm crochet hook, yarn needle, scissors, and a small button. It also uses a pencil-inspired color palette: pink, light gray, gold, buff, and charcoal. For this original version, use similar school-themed colors but choose your own shades.
You will need:
- Medium-weight acrylic or cotton yarn.
- Blush pink yarn for the eraser end.
- Slate gray yarn for the metal band.
- Golden yellow yarn for the pencil body.
- Warm beige yarn for the wooden pencil tip.
- Charcoal black yarn for the pencil point.
- 4 mm crochet hook.
- Yarn needle.
- Scissors.
- Stitch marker.
- Small round button, about 1/2 inch.
- Sewing needle and thread if preferred for the button.
- Measuring tape.
The Craft Yarn Council’s yarn weight system is helpful when checking yarn substitutions, especially if you want your pouch to stay close in size and firmness.
Crochet Abbreviations Used
This tutorial uses US crochet terms. The Craft Yarn Council notes that US and UK crochet terms differ; for example, US single crochet corresponds to UK double crochet, and US double crochet corresponds to UK treble crochet.
- ch = chain
- dc = double crochet
- sl st = slip stitch
- st/sts = stitch/stitches
- rep = repeat
- dc2tog = double crochet two stitches together
- dc3tog = double crochet three stitches together
Before You Start
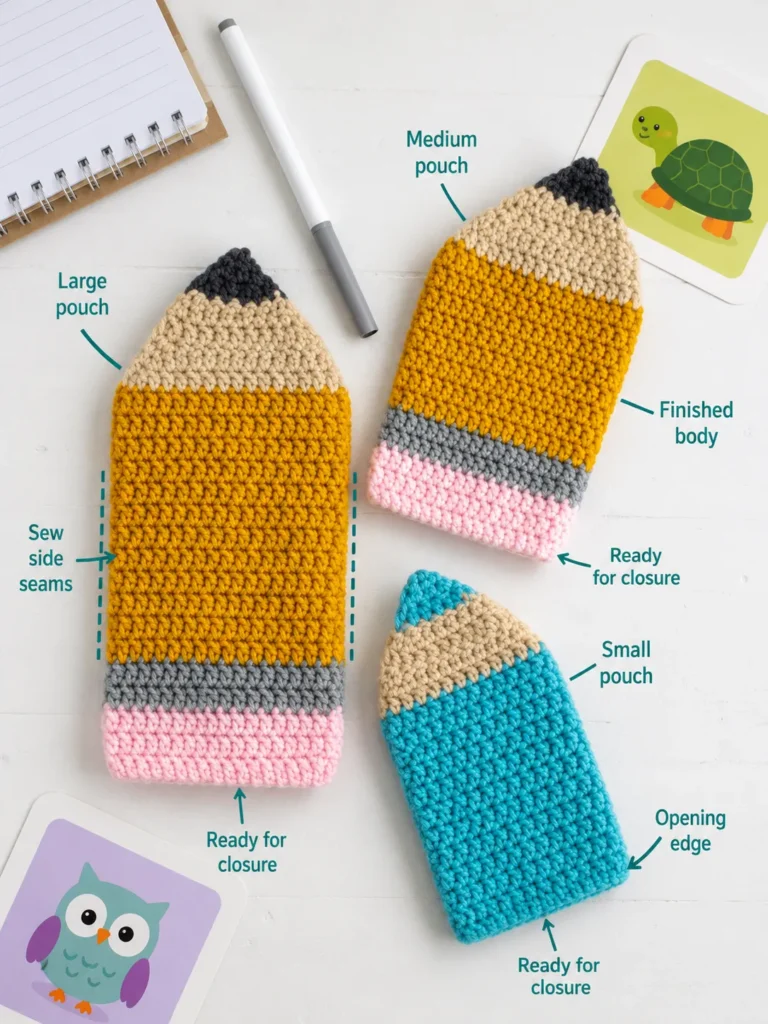
This pouch is worked like a small tube with a closed bottom. Instead of making two flat rectangles and sewing them together, you begin with a foundation chain and crochet around both sides of that chain. The selected reference source also notes that the project is worked in joined rounds starting from a foundation chain, with stitches worked on both sides of that chain.
Your tension should be firm enough that pencils do not poke through large gaps. Double crochet creates a flexible fabric, but if your stitches are very loose, try a smaller hook. If your fabric feels too stiff, relax your tension slightly.
The reference source gives a gauge of 9 double crochet stitches by 5 rows over 2 inches and lists finished sizes for a flashcard pouch and a longer writing-tool pouch. For a beginner version, focus less on exact row math and more on the fit: make the pouch tall enough for the items you want to carry.
Step-by-Step Crochet Tutorial
Step 1: Start With a Foundation Chain
Begin with blush pink yarn for the eraser section. Make a foundation chain that is wide enough for the pouch you want. For a flashcard pouch, keep it shorter. For a pencil pouch, make it long enough to fit pencils or pens when the pouch is turned vertically.
Work double crochet stitches across one side of the chain. When you reach the end, rotate your work and crochet along the opposite side of the starting chain. This creates an oval-shaped base without sewing.
Beginner tip: Place a stitch marker at the beginning of the round so you know where to join.
Common mistake to avoid: Do not twist the chain before working the second side. Keep the chain flat so your pouch base does not spiral.
Step 2: Build the Pink Eraser Section
Continue working joined rounds in blush pink. This section becomes the eraser end of the pencil pouch. Keep your stitches even and join each round cleanly with a slip stitch.
You do not need many rounds for this part. The pink section should be visible but not take over the design.
Beginner tip: Work over the yarn tail for the first few stitches if possible. This gives you one fewer end to weave later.
Common mistake to avoid: Do not pull the joining slip stitch too tight. A tight join can create a pinched seam.
Step 3: Change to the Gray Band
Switch to slate gray yarn to create the pencil’s metal band. This small color block separates the eraser from the yellow pencil body.
To change colors neatly, finish the last yarn-over of the final stitch with the new color. Then continue the next round in gray. Leave yarn tails long enough to weave in securely.
Beginner tip: Keep all color-change tails on the inside of the pouch.
Common mistake to avoid: Do not knot every color change tightly. Knots can become bulky inside a small pouch.
Step 4: Crochet the Yellow Pencil Body
Switch to golden yellow yarn for the main pencil body. This is the tallest part of the pouch, so take your time and keep the rounds consistent.
If you want a short flashcard pouch, work fewer rounds. If you want a longer pouch for pencils, pens, or markers, add more rounds before starting the flap. The source specifically notes that extra rounds can be added to make the pouch taller for writing tools.
Beginner tip: Try sliding a pencil or flashcard against the pouch as it grows to check the height.
Common mistake to avoid: Do not forget to count or mark your rounds. Uneven height can make the flap sit crooked.
Step 5: Shape the Beige Pencil Flap
After the yellow body is tall enough, switch to warm beige yarn. This section becomes the wooden part of the pencil and also forms the flap.
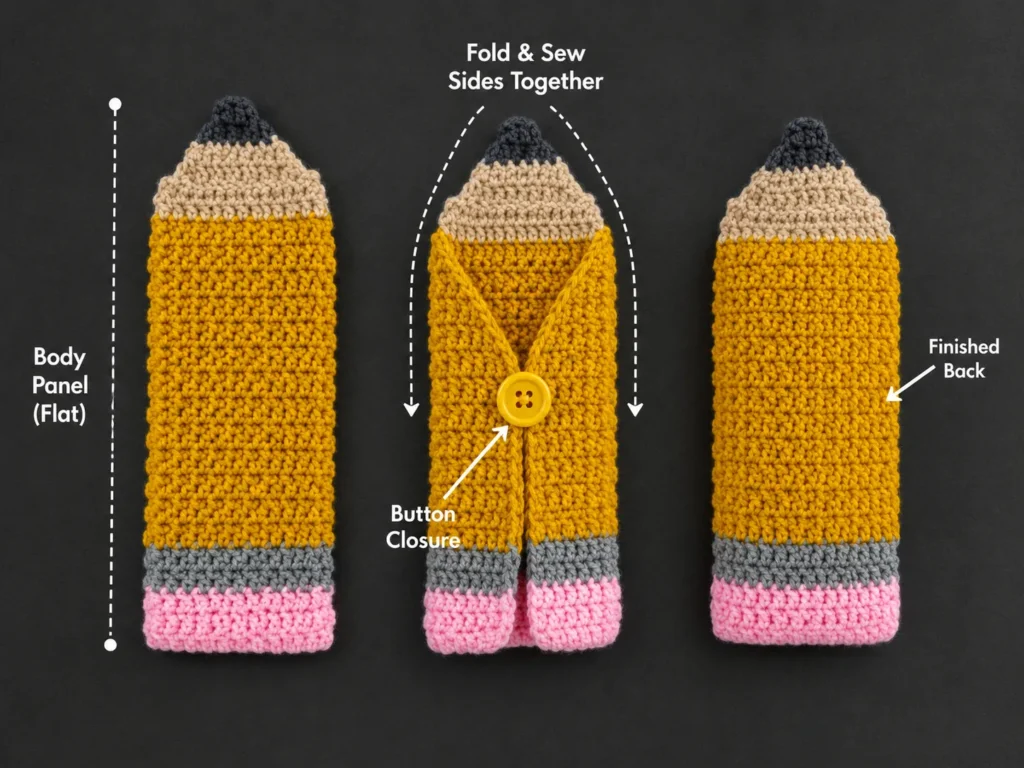
Instead of continuing all the way around the pouch, work across only one side. Use decreases at the edges so the flap narrows toward a point. This creates the pencil shape and gives the pouch a closure flap.
The selected source also switches from rounds to rows for the pointed flap section.
Beginner tip: Lay the pouch flat after each decrease row to check that the point is centered.
Common mistake to avoid: Do not work the flap around the whole pouch. The flap should cover only one side.
Step 6: Add the Charcoal Pencil Point
Switch to charcoal yarn for the final point. Work the last narrow rows until the flap looks like the tip of a pencil.
This section is small, so keep your stitches relaxed. Dark yarn can be harder to see, especially in low light.
Beginner tip: Use a light-colored table or place a white cloth underneath when working with charcoal yarn.
Common mistake to avoid: Do not pull the final decrease too tight. You still want the point to lie flat.
Step 7: Sew on the Button
Fold the pencil flap down over the front of the pouch. Decide where the button should sit so the flap can close securely. Sew the button to the front of the pouch, centered under the point.
The reference source uses a 1/2-inch button and notes that the button can push between double crochet stitches instead of needing a separate buttonhole.
Beginner tip: Pin the flap closed first, then mark the button position.
Common mistake to avoid: Do not place the button too low. The flap should close without stretching.
Step 8: Test the Pouch With School Supplies
Slide in a few pencils, flashcards, markers, or crochet hooks. Close the flap and check whether the button holds comfortably. If the flap feels too tight, you may need a smaller button. If it opens too easily, choose a slightly larger button.
Beginner tip: Test the closure before weaving in every end. Adjustments are easier before final finishing.
Common mistake to avoid: Do not overload the pouch. Crochet fabric stretches, and too many supplies can pull the button area out of shape.
Pattern Notes or Stitch Notes
This pouch is worked in joined rounds for the body and rows for the pointed flap. The turning chain should stay consistent. If your chain does not count as a stitch, do not accidentally work into it as if it does.
For color changes, finish the final yarn-over of the last stitch with the next color. This gives a cleaner transition between the eraser, band, pencil body, and tip.
For sizing, adjust the starting chain to change the pouch width. Add more body rounds to make the pouch taller. The source also explains that size can be changed by adjusting the starting chain and adding extra rows.
For the flap, decreases create the pointed pencil shape. Keep both edges balanced so the point stays centered.
Common Beginner Mistakes
- Twisting the foundation chain: Keep it flat before working the opposite side.
- Loose double crochet stitches: Use a smaller hook if pencils poke through the fabric.
- Messy color changes: Finish the last yarn-over of the previous stitch with the new color.
- Forgetting to join rounds: Mark the first stitch so the pouch seam stays controlled.
- Uneven flap decreases: Count stitches on every decrease row.
- Button placed too low: Test the flap before sewing the button permanently.
- Not weaving ends securely: School pouches get handled often, so weave ends in well.
How to Customize This Crochet Project
You can turn this into many back-to-school crochet patterns by changing the colors and length. Make a classic yellow pencil pouch, a teal colored-pencil pouch, a pink highlighter pouch, or a rainbow marker pouch.
To make it longer, add more body rounds before shaping the flap. To make it wider, increase the foundation chain. To make it softer, use cotton yarn. To make it sturdier, use acrylic or a tight cotton blend.
For closure options, try a button, snap, small toggle, or magnetic closure. For younger children, use a large button that is easy to handle and sew it securely.
For gifts, fill the pouch with pencils, flashcards, bookmarks, stickers, or a small note for a teacher.
Finishing Instructions
Fasten off and weave in every yarn end. Work the tails through the inside of the pouch so they do not show on the outside. If you used several colors, check that no ends are loose inside the pouch.
Sew the button securely. Open and close the flap a few times to test it. Lightly smooth the pouch with your hands. Blocking is optional, but light steam or gentle shaping can help the flap lie flat if your yarn label allows it. The Craft Yarn Council describes blocking as a finishing method used to help stitches settle and shape the finished project.
Quick Printable-Style Summary
- Skill level: Beginner to advanced beginner
- Project type: Back-to-school crochet pencil pouch
- Yarn: Medium-weight acrylic or cotton yarn
- Hook: 4 mm crochet hook
- Main stitches: Chain, double crochet, slip stitch, double crochet decreases
- Starting method: Foundation chain worked on both sides
- Construction: Joined rounds for pouch body, rows for pointed flap
- Closure: Button pushed between stitches or through a small opening
- Finishing: Weave ends, sew button, test closure, lightly shape
FAQ
Is this back-to-school crochet pattern beginner-friendly?
Yes. It uses basic stitches and simple color blocks. The only slightly advanced part is the pointed flap, which uses decreases.
Can I make this pouch big enough for pencils?
Yes. Add more rounds to the pencil body before shaping the flap. The source also notes that extra rounds can make the pouch taller for writing tools.
Do I need a zipper?
No. This version uses a button closure, which is easier than sewing in a zipper.
What yarn is best for a pencil pouch?
Medium-weight acrylic or cotton yarn works well. Acrylic is durable and easy to wash, while cotton gives a crisp stitch texture.
Can I make this with single crochet?
Yes, but single crochet will create a denser pouch and may change the size. Make a small swatch first.
Can this be a teacher gift?
Yes. Fill it with pencils, flashcards, sticky notes, or a handmade bookmark.
How do I stop the flap from curling?
Keep your decrease rows even, avoid pulling too tightly, and lightly shape or block the flap if the yarn label allows.
Conclusion
Back-to-school crochet patterns are best when they are useful, quick, and fun to make. This crochet pencil pouch checks all three boxes. It teaches foundation-chain construction, joined rounds, color changes, simple shaping, and button finishing, while still creating a project students or teachers can actually use.