A classroom does not need expensive decorations to feel colorful, welcoming, and full of personality. Sometimes one memorable handmade piece is enough to transform an empty door, reading corner, bulletin-board area, or teacher workspace.
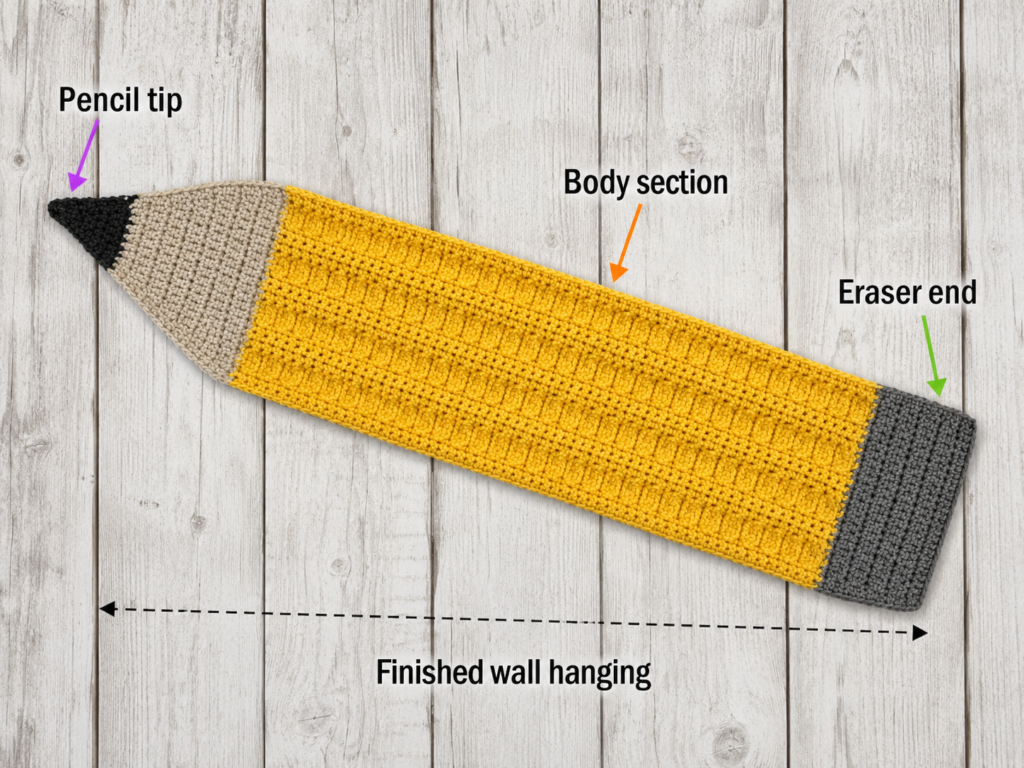
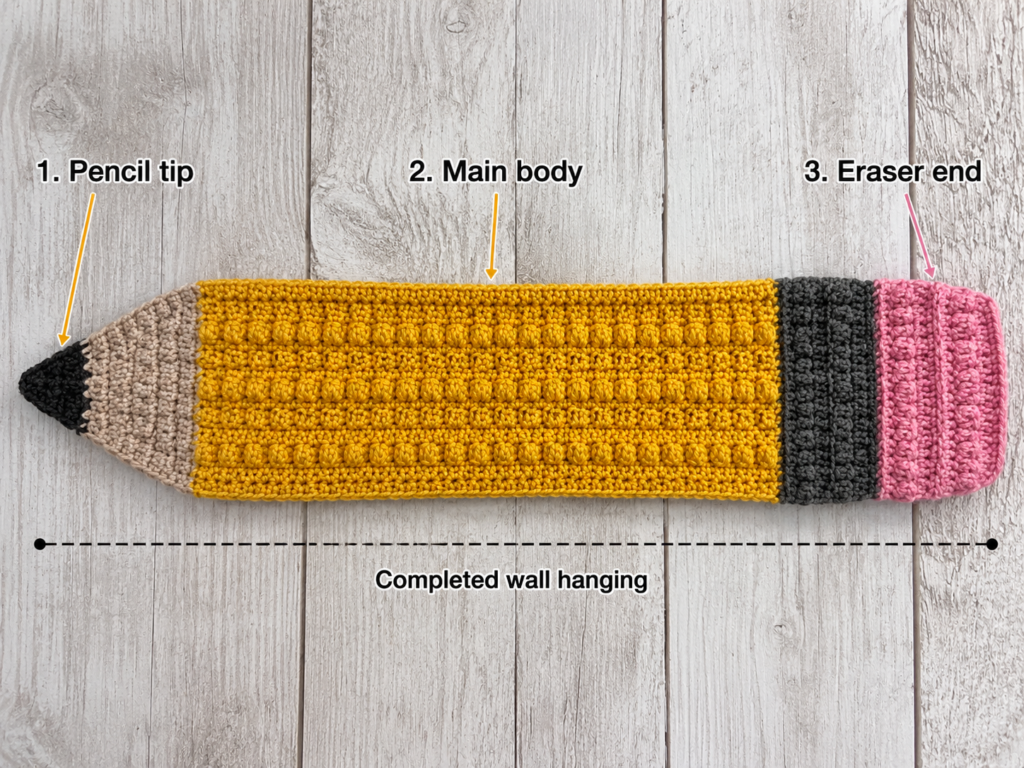
This giant crochet pencil wall hanging is a playful classroom decoration that immediately says school, but it does not require advanced crochet skills. You will make two flat pencil-shaped panels using simple rows of half double crochet, change colors to create the eraser, metal ferrule, painted body, wooden tip, and graphite point, and then join the two pieces around the edges.
You can leave the finished pencil completely flat, insert a piece of felt or thin batting for more structure, or add a very small amount of polyester filling to create gentle dimension.
The result is a large approximately 26–28 inch long crochet pencil decoration suitable for a classroom door, library corner, homeschool room, teacher office, craft room, or back-to-school display.
This is an original tutorial inspired by the general concept of oversized school-themed crochet decor. It does not reproduce the row counts, stitch sequence, bobble design, dimensions, or construction of the selected reference source.
What You’ll Learn
By completing this project, you will practice:
- Making a consistent foundation chain.
- Working half double crochet in flat rows.
- Counting stitches to keep edges straight.
- Changing yarn colors cleanly.
- Shaping a symmetrical point with decreases.
- Making two matching crochet panels.
- Joining two layers with single crochet.
- Adding optional light padding.
- Creating a secure hanging loop.
- Adjusting the design for different classroom colors and sizes.
Materials You’ll Need
For one giant pencil wall hanging approximately 26–28 inches long:
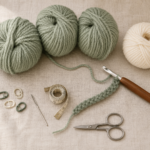
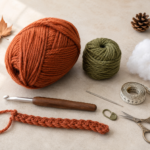
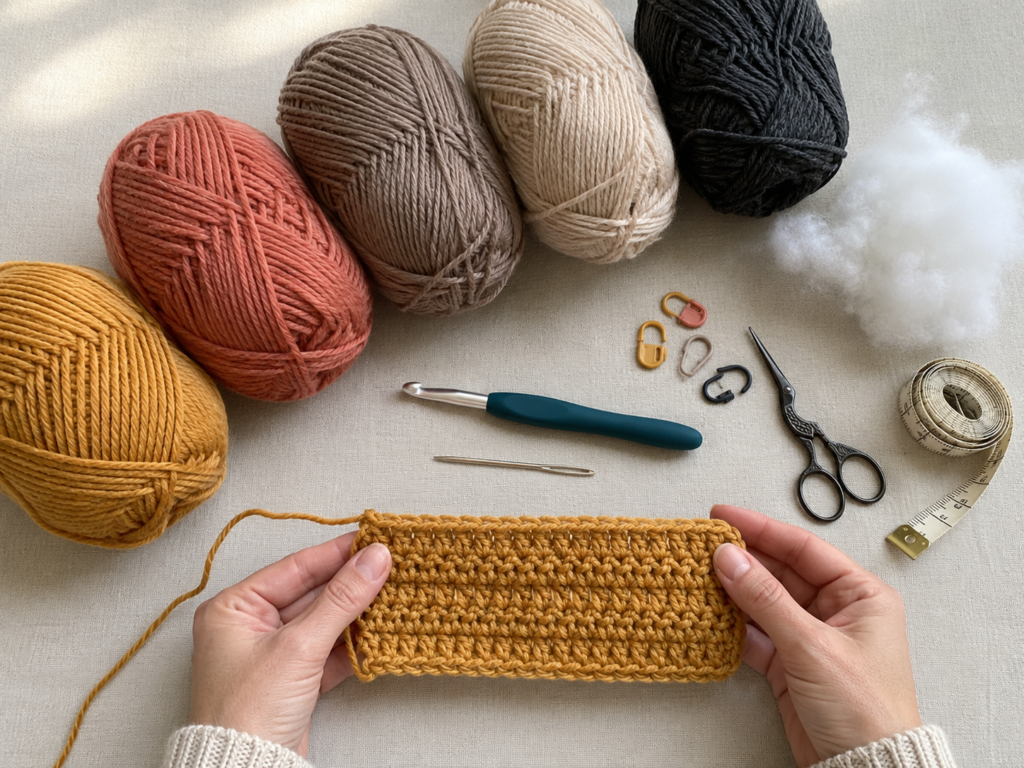
- Medium-weight / worsted-weight yarn, approximately 300–375 yards total
- About 40 yards dusty coral for the eraser
- About 30 yards warm taupe for the ferrule
- About 200 yards muted mustard for the main pencil body
- About 55 yards oatmeal beige for the wooden tip
- About 20 yards deep charcoal for the graphite point
- 5 mm / H-8 crochet hook
- Tapestry needle
- Scissors
- Measuring tape
- 6–10 locking stitch markers or safety pins
- Optional polyester fiberfill
- Optional thin craft felt or quilt batting for a flatter structured version
Medium or worsted yarn belongs to the Craft Yarn Council’s medium-weight category, and a 5 mm hook falls within the broad standardized range commonly associated with this yarn category. Individual yarns and personal tension vary, so the hook should still be adjusted when necessary to create a firm fabric.
Finished Size
The sample is designed to measure approximately:
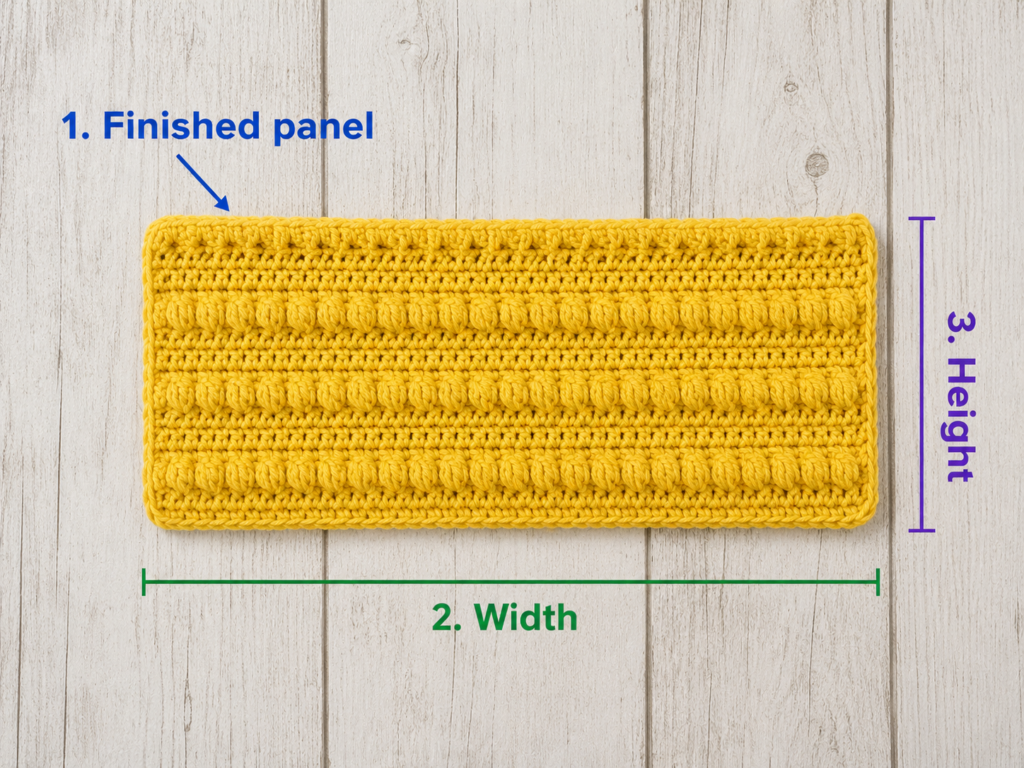
26–28 inches / 66–71 cm long
6.5–7 inches / 16.5–18 cm wide
Your exact dimensions will depend on yarn thickness, hook size, and personal tension.
Because this is decorative rather than wearable, exact gauge is less critical than producing a dense, stable fabric.
Gauge and Tension
Approximate gauge:
14 hdc stitches × 10 rows = 4 inches / 10 cm
Make a small swatch before starting when finished dimensions matter to you.
The ideal fabric should:
- Lie mostly flat.
- Feel firm enough to hang neatly.
- Have no large holes.
- Remain flexible enough to join around the edge.
A loose fabric can sag when displayed vertically. A fabric that is extremely tight may be difficult to decrease cleanly at the pencil point.
Crochet Abbreviations Used
This pattern uses U.S. crochet terminology:
- ch = chain
- hdc = half double crochet
- hdc2tog = half double crochet two together / decrease
- sc = single crochet
- sl st = slip stitch
- st/sts = stitch/stitches
- RS = right side
- WS = wrong side
- rep = repeat
The Craft Yarn Council uses these standard abbreviations and also documents the differences between U.S. and U.K. crochet terminology. In U.K. terminology, a U.S. half double crochet is called a half treble.
Before You Start
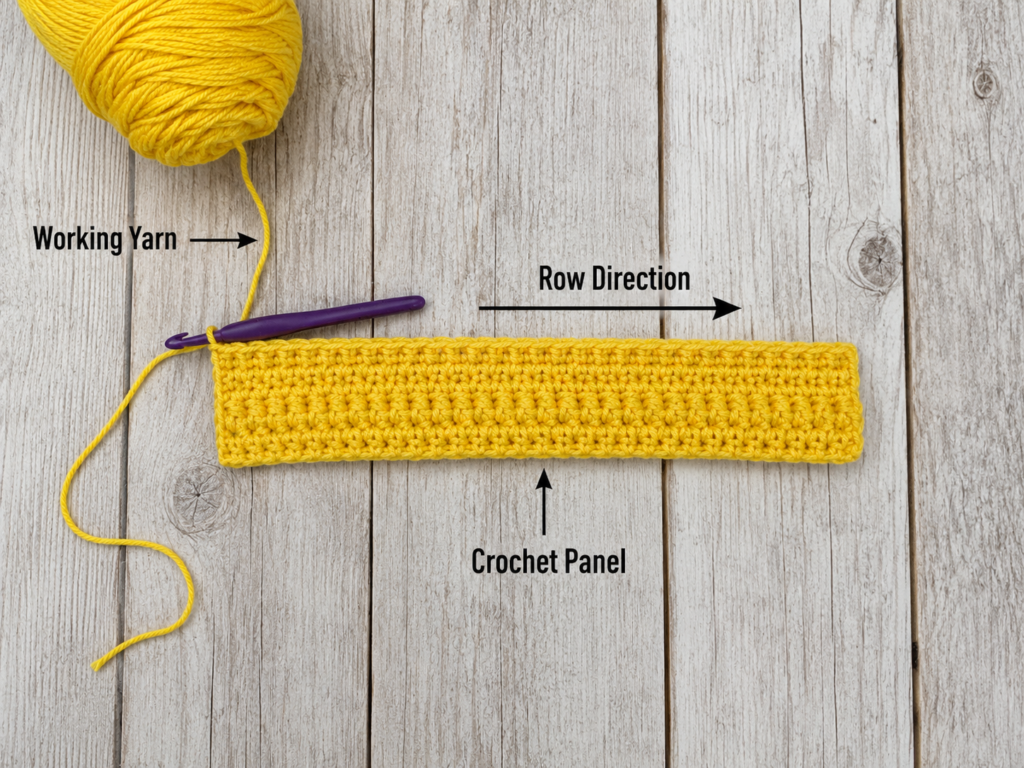
The turning chain does not count as a stitch
At the end of every row, chain 1 and turn. The chain 1 is only used to bring the hook to a comfortable height. Do not count it as one of the 24 stitches.
Count 24 stitches often
The eraser, ferrule, and complete rectangular body should remain exactly 24 stitches wide.
Count every few rows, especially immediately before and after changing color.
How to keep the edges straight
The most common beginner mistake is missing the final stitch of a row.
The last stitch can hide beside the turning chain. Before turning, count your stitches and make certain that you have worked the final hdc.
How to avoid curling
A small amount of curling is normal.
Severe curling usually means:
- Your starting chain is too tight.
- Your tension changed significantly.
- The yarn is being pulled too firmly after each stitch.
Use relaxed, consistent tension.
Choosing colors
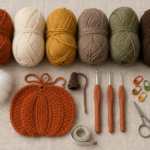
The traditional school-pencil palette is yellow, pink, gray, tan, and black, but your classroom decoration can look much more personalized.
For this tutorial, the original generated-image palette is:
- Dusty coral eraser
- Warm taupe ferrule
- Muted mustard body
- Oatmeal wooden tip
- Deep charcoal graphite point
School colors, rainbow colors, pastels, or neutral Montessori-inspired shades can work equally well.
Step-by-Step Crochet Tutorial
Step 1: Crochet the Dusty-Coral Eraser
Begin with dusty-coral worsted yarn.
Foundation: Ch 25.
Row 1: Hdc in the second ch from the hook and in each remaining ch across. You should have 24 sts. Ch 1 and turn.
Rows 2–7: Hdc in each of the 24 sts across. Ch 1 and turn after every row except when instructed to change color.
You now have a small rectangle that will become the pencil eraser.
Take a moment to inspect the edges. Both should be straight, and every row should contain 24 stitches.
Beginner tip: Put a stitch marker in the first and last stitch of the row when you are still learning to recognize edge stitches.
Common mistake to avoid: Do not accidentally crochet into the turning chain at the beginning or end of a row. Doing this can gradually increase the width.
Step 2: Add the Warm-Taupe Ferrule
The ferrule represents the small metal band between a traditional pencil’s body and its eraser.
On the final stitch of Row 7, begin changing to warm-taupe yarn.
To make a clean color change:
- Yarn over with coral.
- Insert the hook into the final stitch.
- Yarn over and pull up a loop.
- You now have three loops on the hook.
- Drop the coral yarn.
- Yarn over with taupe.
- Pull the taupe yarn through all three loops.
The final stitch is completed, and the new color is ready for the next row.
Rows 8–12: Using taupe, hdc in all 24 sts across. Ch 1 and turn.
At the end of Row 12, change to mustard in the same way.
Beginner tip: Leave a 5–6 inch tail at every color change so the ends can be woven securely later.
Common mistake to avoid: Do not tie bulky knots between color sections. A clean final-loop color change produces a smoother edge.
Step 3: Build the Long Mustard Pencil Body
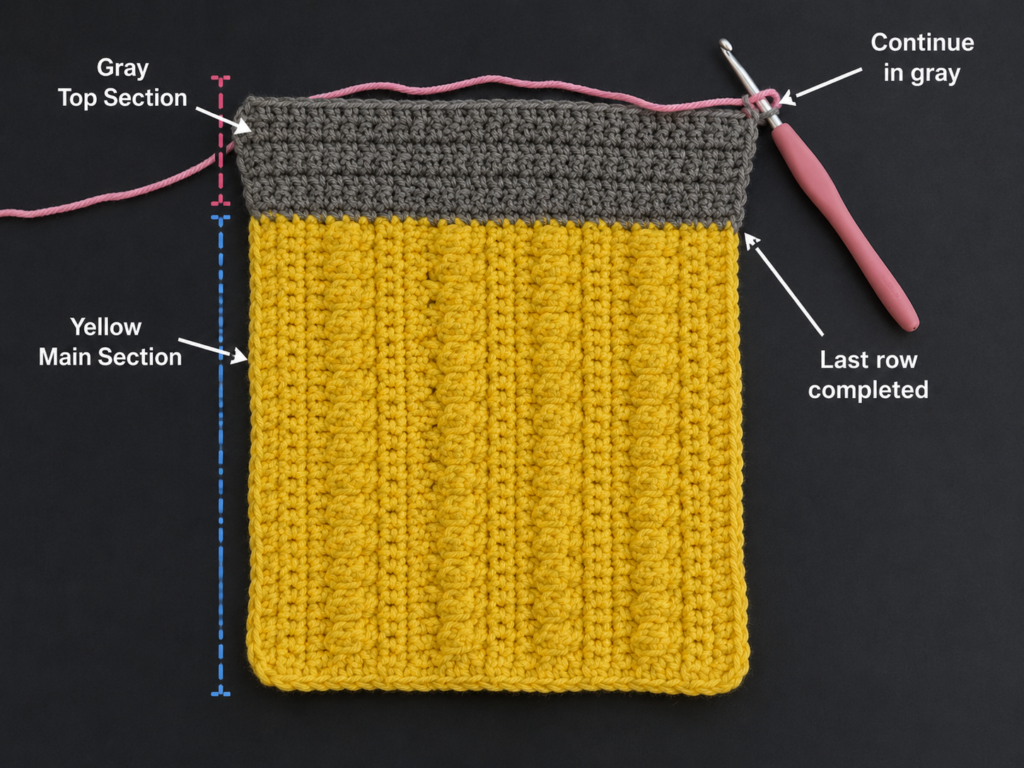
Using muted-mustard yarn:
Rows 13–44: Hdc in each of the 24 sts across. Ch 1 and turn.
This is the longest part of the project.
You will work 32 mustard rows.
Because long areas of the same stitch can become repetitive, use simple checkpoints:
- After Row 20, count 24 stitches.
- After Row 28, count again.
- After Row 36, check the width.
- After Row 44, lay the piece completely flat.
The long sides should remain approximately parallel.
Beginner tip: Place a locking marker every eight rows. This makes counting much easier when you return to the project later.
Common mistake to avoid: Avoid tightening the first stitch of every row more than the others. Uneven edge tension can create a curved or hourglass-shaped body.
Step 4: Shape the Wooden Tip and Graphite Point
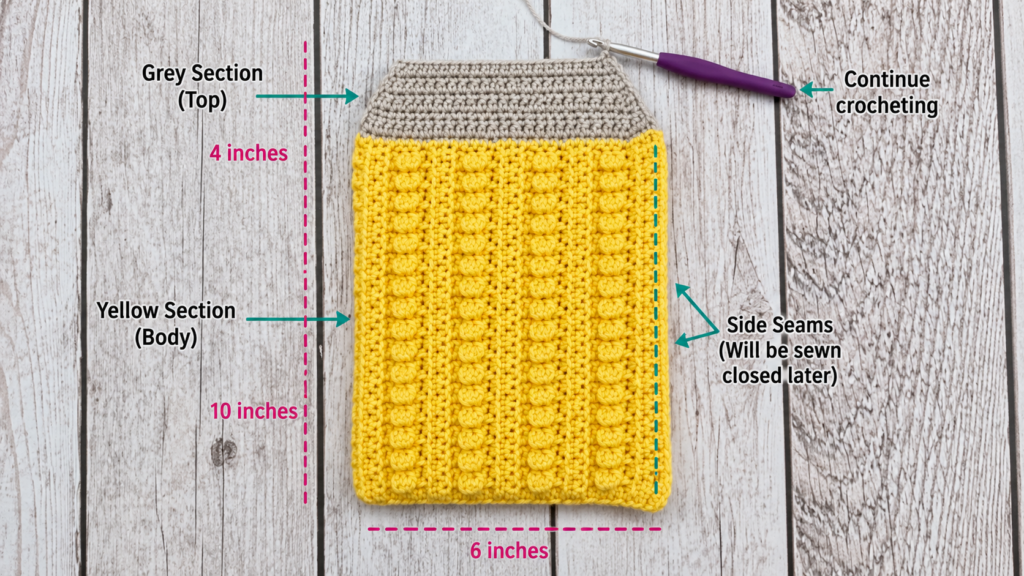
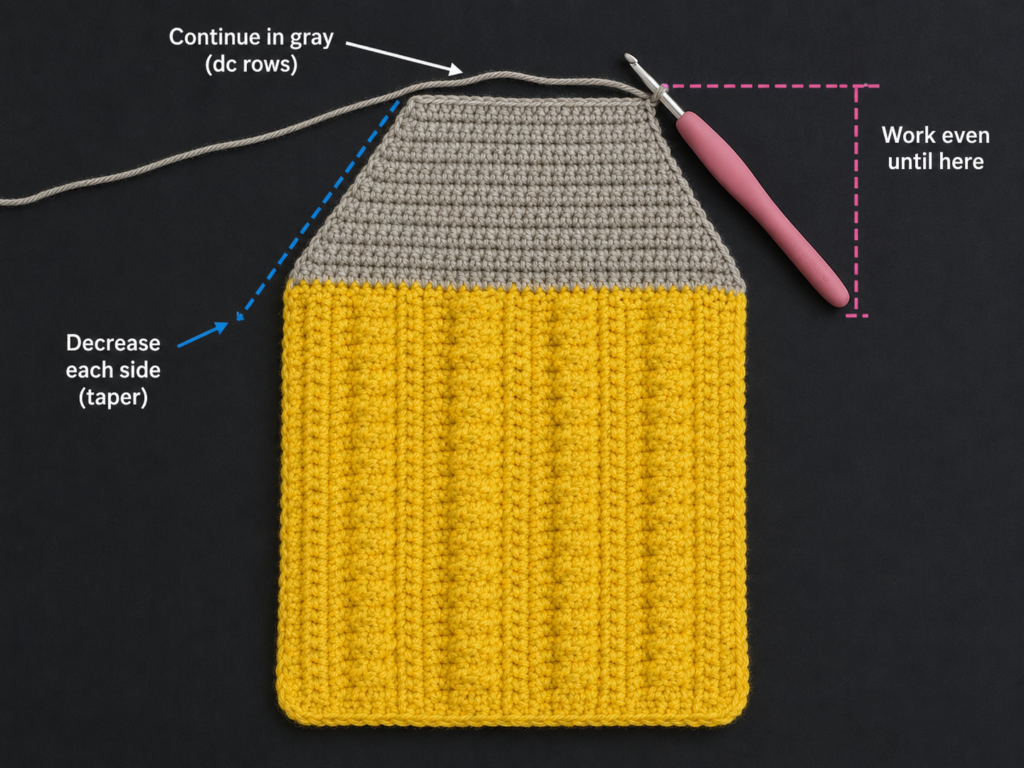
The pencil remains 24 stitches wide through Row 44. Now you will narrow both sides gradually to create the sharpened point.
Change to oatmeal-beige yarn.
Oatmeal Wooden Section
Row 45: Hdc2tog, hdc in next 20 sts, hdc2tog. 22 sts
Row 46: Hdc across. 22 sts
Row 47: Hdc2tog, hdc in next 18 sts, hdc2tog. 20 sts
Row 48: Hdc across. 20 sts
Row 49: Hdc2tog, hdc in next 16 sts, hdc2tog. 18 sts
Row 50: Hdc across. 18 sts
Row 51: Hdc2tog, hdc in next 14 sts, hdc2tog. 16 sts
Row 52: Hdc across. 16 sts
Row 53: Hdc2tog, hdc in next 12 sts, hdc2tog. 14 sts
Row 54: Hdc across. 14 sts
The sides should now slope inward evenly.
Beginner tip: Count immediately after every decrease row. A symmetrical tip depends on removing one stitch at each edge.
Common mistake to avoid: Do not accidentally work both decreases at the same end of the row. One belongs at the beginning and one at the end.
Charcoal Graphite Section
Change to deep charcoal.
Row 55: Hdc2tog, hdc in next 10 sts, hdc2tog. 12 sts
Row 56: Hdc across. 12 sts
Row 57: Hdc2tog, hdc in next 8 sts, hdc2tog. 10 sts
Row 58: Hdc across. 10 sts
Row 59: Hdc2tog, hdc in next 6 sts, hdc2tog. 8 sts
Row 60: Hdc2tog, hdc in next 4 sts, hdc2tog. 6 sts
Row 61: Hdc2tog, hdc in next 2 sts, hdc2tog. 4 sts
Row 62: Hdc2tog twice. 2 sts
Row 63: Hdc2tog. 1 st
Fasten off.
Leave a tail long enough to weave securely into the wrong side.
Step 5: Inspect and Finish the Front Panel
Lay the panel flat with the preferred side facing upward.
Check:
- The eraser contains 7 coral rows.
- The ferrule contains 5 taupe rows.
- The body contains 32 mustard rows.
- The wooden section narrows symmetrically.
- The graphite section reaches one final stitch.
- The two long edges remain reasonably straight.
Weave in all internal yarn tails now. Once the two panels are joined, reaching these ends will be more difficult.
Optional surface detail
For extra pencil-like dimension, thread a tapestry needle with a slightly darker mustard yarn and embroider two or three long straight decorative lines along the mustard body.
Another option is to surface slip stitch along selected vertical stitch columns.
Keep this subtle. The wall hanging should still lie flat.
Step 6: Make the Matching Back Panel
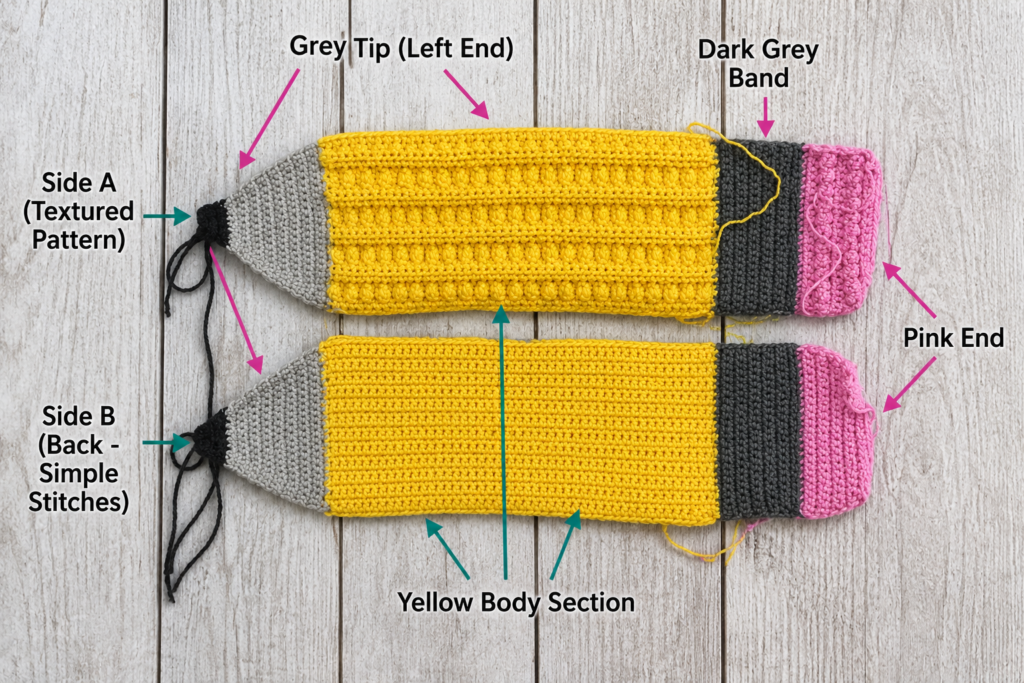
Repeat Steps 1–4 exactly to make a second pencil-shaped panel.
The back panel uses:
- 7 rows coral.
- 5 rows taupe.
- 32 rows mustard.
- The same oatmeal decrease sequence.
- The same charcoal decrease sequence.
Do not add optional decorative surface lines to the back.
When both panels are complete, lay them next to each other.
Check that:
- The widths match.
- The color transitions align.
- The points are approximately equal.
- Neither panel has significantly more stretched edges.
Minor differences can usually be corrected when joining.
Beginner tip: Use the completed first panel as a visual template while crocheting the second one.
Common mistake to avoid: Do not rely only on physical length. Count the rows. Two panels can appear similar while still having different row counts.
Step 7: Align and Join the Two Pencil Panels
Place the two pencil panels together with:
Wrong sides touching.
Right sides facing outward.
Align every color transition carefully.
Use locking stitch markers at:
- Both eraser corners.
- Both ferrule transitions.
- The beginning of the wooden tip.
- The beginning of the graphite point.
- The very end of the point.
This prevents one layer from stretching ahead of the other.
Begin joining
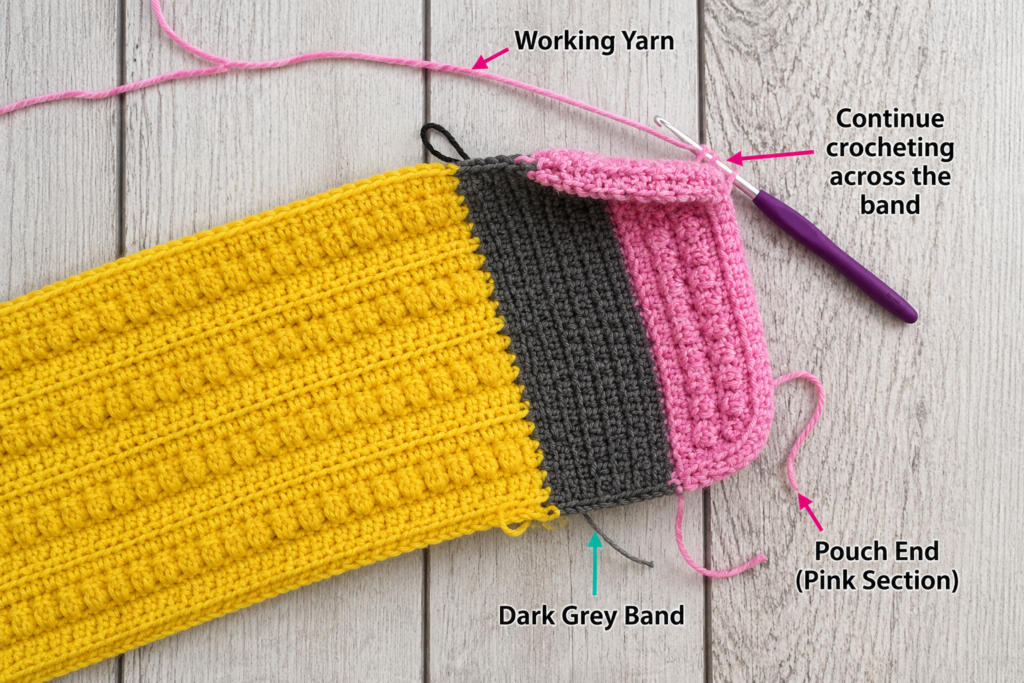
Attach coral yarn near one lower eraser corner.
Insert the hook through both layers.
Work single crochet evenly through both panels.
When you reach a new color section, change the joining yarn to approximately match that section:
- Coral around eraser.
- Taupe around ferrule.
- Mustard around body.
- Oatmeal around wooden tip.
- Charcoal around graphite point.
This gives the edge a polished color-matched appearance.
At the narrow graphite point, work carefully and avoid forcing too many stitches into a tiny space.
Beginner tip: When joining along row ends, there is no exact top-V stitch to enter. Space the single crochets evenly rather than trying to put multiple stitches into every visible loop.
Common mistake to avoid: Do not crochet through only the front panel. Check after every few stitches that the hook has passed through both layers.
Step 8: Add Structure or Light Padding
Stop joining when approximately 5–6 inches of the eraser edge remains open.
Now choose one of three finishes.
Option 1: Completely flat wall hanging
Add nothing inside.
This is the lightest version and easiest to hang.
Option 2: Structured flat version
Cut a piece of thin craft felt or low-loft quilt batting slightly smaller than the pencil shape.
Slide it inside.
This creates more structure without making the decoration look like a pillow.
Option 3: Lightly padded version
Add small pieces of polyester fiberfill gradually.
Start at the graphite point and move toward the eraser.
The goal is gentle shape, not a firm stuffed toy.
Beginner tip: Pull the fiberfill into small wispy sections before inserting it. Large compact clumps can create visible lumps.
Common mistake to avoid: Do not overstuff. A heavy, rounded pencil can sag when mounted as wall decor.
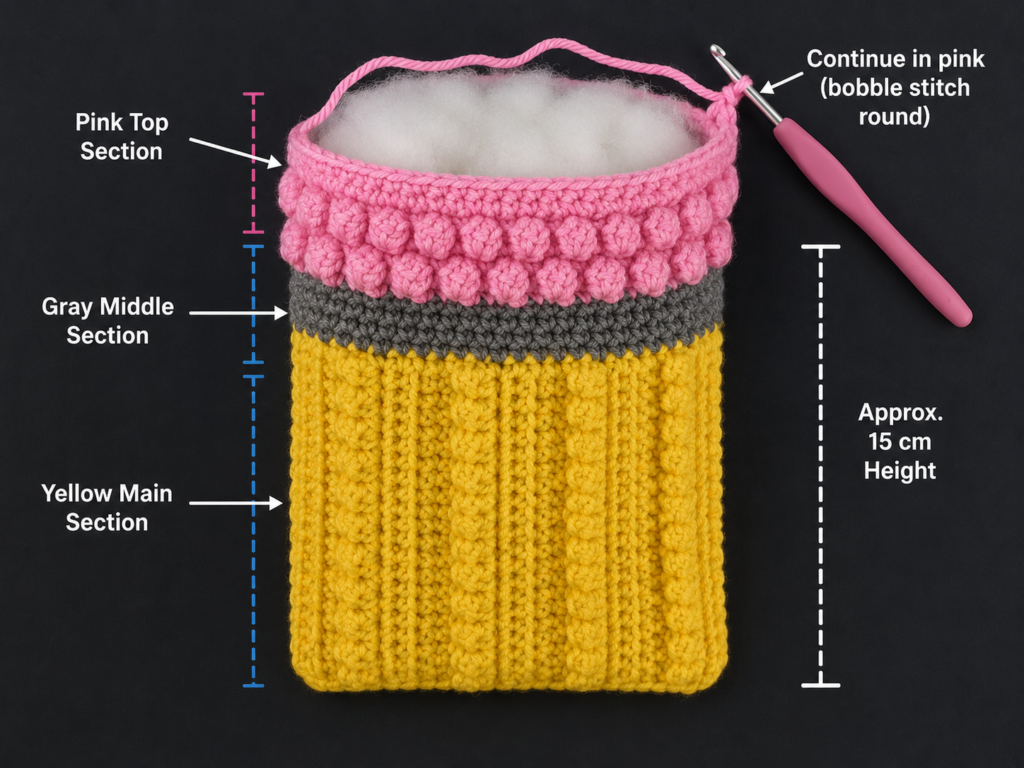
Step 9: Close the Opening and Add a Hanging Loop
Continue single crocheting through both layers until the opening is fully closed.
Join to the first sc with a sl st.
Fasten off.
Weave in the final tail securely.
Make the hanging loop
Turn the pencil so the back panel faces upward.
At the upper-back edge near the eraser:
- Join matching yarn.
- Ch 30.
- Sl st into a secure nearby stitch to form a loop.
- Fasten off.
- Reinforce both attachment points with the yarn tail and tapestry needle.
For a horizontal wall display, make two smaller loops instead—one near the eraser and one near the wooden tip.
Classroom safety note
Hang the decoration securely and keep long cords or loose loops out of children’s reach. For classroom displays, small concealed hanging loops are preferable to long dangling cords.
Pattern Notes or Stitch Notes
Turning-chain rule
The ch 1 at the end of a row:
- Does not count as a stitch.
- Is not worked into on the next row.
Stitch count
The rectangular sections remain:
24 sts across
The tip decreases as follows:
- 24
- 22
- 20
- 18
- 16
- 14
- 12
- 10
- 8
- 6
- 4
- 2
- 1
Repeat pattern
For all straight rectangular rows:
Hdc in each st across. Ch 1 and turn.
Row notes
The project is worked flat in rows.
Do not join rounds.
Turn after every row.
Right side and wrong side
Because ordinary hdc rows are reversible, choose the cleaner-looking side as the right side before assembly.
Place wrong sides together so both preferred surfaces face outward.
Size adjustment notes
To make the pencil longer
Add more mustard body rows.
For example:
- Add 5 rows for a slightly longer pencil.
- Add 10–15 rows for an oversized classroom-door display.
Make exactly the same changes to both panels.
To make the pencil wider
Increase the foundation chain.
The original tutorial starts with 25 chains to produce 24 stitches.
For a larger version:
- Ch 29 for 28 sts.
- Ch 33 for 32 sts.
You will need to redesign the decrease sequence so both sides narrow symmetrically.
To make a mini garland
Use DK yarn and a smaller hook, or reduce both the width and row counts.
Make several mini pencils and connect them with a long crochet chain.
Common Beginner Mistakes
1. Losing stitches at the row edges
Problem: The pencil becomes narrower before the intended tip.
Fix: Mark the first and last stitch of each row and count 24 regularly.
2. Adding stitches into the turning chain
Problem: The body gradually becomes wider.
Fix: Remember that the ch 1 does not count as a stitch.
3. Making the two panels different lengths
Problem: The color changes do not align during assembly.
Fix: Count rows rather than relying only on measurements.
4. Changing color after finishing the entire last stitch
Problem: A small color bump becomes visible at the edge.
Fix: Introduce the new color during the final yarn-over of the last stitch in the old color.
5. Decreasing unevenly at the point
Problem: The tip leans to one side.
Fix: Make one decrease at each edge and verify the stitch count immediately.
6. Stretching one panel while joining
Problem: The second layer runs out of edge before the first layer.
Fix: Use several stitch markers to secure important alignment points before crocheting.
7. Overstuffing the wall hanging
Problem: It becomes bulky, heavy, and difficult to display.
Fix: Use only enough filling for gentle dimension, or use thin batting instead.
How to Customize This Crochet Project
Change the yarn colors
A pencil does not have to be yellow.
Try:
- Rainbow stripes.
- School colors.
- Soft pastels.
- Primary classroom colors.
- Neutral Montessori colors.
- Black and white.
- Bright neon art-room colors.
Keep the five main visual zones recognizable:
- Eraser.
- Ferrule.
- Painted body.
- Exposed wood.
- Graphite.
Personalize it with a teacher’s name
After completing the front panel but before assembly, add:
- Surface crochet letters.
- Embroidered initials.
- Felt letters.
- Small crocheted alphabet appliqués.
For a classroom-door display, a teacher’s surname can be placed across the main body.
Add a simple border
The joining round already forms a border.
For more definition, add one extra sl-st round around the finished pencil.
Avoid very bulky scallops at the graphite tip because they can hide the sharpened shape.
Change the texture
The original tutorial uses plain half double crochet for accessibility.
For a future version, consider:
- Moss stitch.
- Single crochet.
- Waistcoat stitch.
- Linked double crochet.
- Alternating front-loop and back-loop texture.
Remember that changing the stitch can dramatically affect gauge.
Make a complete classroom crochet collection
The same visual style can inspire:
- Crochet apple garland.
- Crochet crayon bunting.
- Crochet alphabet wall hanging.
- Crochet ruler decoration.
- Crochet notebook-paper banner.
- Crochet book appliqués.
- Crochet rainbow reading-corner sign.
This gives the keyword crochet classroom decor patterns room to grow into an entire themed content cluster rather than relying on one isolated project.
Finishing Instructions
Fastening off
After completing the final single-crochet join:
- Sl st into the first sc.
- Cut the yarn, leaving a 6-inch tail.
- Pull the tail through the final loop.
Weaving in ends
Thread each tail through a tapestry needle.
Weave through several nearby stitches on the wrong side.
Reverse direction once.
Trim only after the tail feels secure.
Blocking
For a flat version, light blocking can improve the silhouette.
Lay the pencil flat and gently shape:
- The eraser corners.
- The long body edges.
- Both sides of the wooden tip.
- The graphite point.
Use the blocking method appropriate to your yarn fiber.
Do not apply excessive heat to acrylic yarn.
Shaping
For lightly padded versions, gently redistribute the filling by hand.
Keep the graphite point narrow rather than round.
Washing and care
Follow the care instructions supplied with the specific yarn used.
For classroom wall decor, spot cleaning is generally the simplest way to avoid stretching the piece or disturbing the internal structure.
Quick Printable-Style Summary
Project: Giant Crochet Pencil Classroom Wall Hanging
Skill level: Easy / Confident Beginner
Finished size: Approximately 26–28 inches long × 6.5–7 inches wide
Yarn: Medium / worsted-weight yarn in five colors
Hook: 5 mm / H-8
Stitches: Chain, half double crochet, half double crochet decrease, single crochet, slip stitch
Starting method: Ch 25, then work 24 hdc across
Straight-section stitch count: 24 sts
Color sequence:
- 7 coral eraser rows
- 5 taupe ferrule rows
- 32 mustard body rows
- Oatmeal tapered tip
- Charcoal graphite point
Repeat: Hdc across each straight row, ch 1, turn
Construction: Make two matching flat pencil-shaped panels
Assembly: Place wrong sides together and single crochet through both layers
Structure options: Flat, felt-lined, quilt-batting insert, or lightly padded
Finishing: Close edge, weave in ends, shape, and add one or two secure hanging loops
FAQ
Is this giant crochet pencil suitable for beginners?
Yes. The main stitch is half double crochet, and the project is worked flat in ordinary rows. The most important additional skills are simple color changes, symmetrical decreases, and joining two panels.
Can I make crochet classroom decor without using stuffing?
Absolutely. Leave the pencil completely flat or insert thin craft felt or low-loft batting between the panels.
A flat version is especially suitable for a door or bulletin-board area.
What is the best yarn for crochet classroom decorations?
Medium-weight acrylic is practical because it is widely available in many colors and produces a substantial fabric. Cotton can also work, although the finished project may feel heavier.
Always base the final choice on the desired structure, care requirements, and available colors.
How can I make the giant pencil longer?
Add additional mustard body rows before beginning the wooden tip.
Repeat the exact same number of additional rows on both panels.
Can I add a teacher’s name?
Yes. Add embroidery, surface crochet, felt lettering, or separate crochet letters to the front panel before assembly.
Make sure any added decorations are firmly secured.
Can I use this pattern to create a pillow instead?
Yes. Add more fiberfill and omit the wall-hanging loop.
However, a pillow requires stronger seam security and more even filling than a lightly padded wall decoration.
What other crochet classroom decor patterns go well with a giant pencil?
An apple garland, alphabet bunting, crochet crayons, mini books, rulers, rainbows, number appliqués, and notebook-paper-inspired wall hangings can create a coordinated school-themed display.
Conclusion
Crochet classroom decor works best when it is both recognizable and personal, and few shapes say “back to school” more clearly than a giant pencil.
This project takes simple half-double-crochet rows and turns them into a large handmade decoration through five color sections, a gradual decrease sequence, and straightforward two-panel assembly. Beginners get to practice essential crochet skills while creating something much more memorable than another practice square.
Make the first pencil in a classic or muted school-inspired palette. Then experiment with school colors, teacher names, rainbow stripes, mini garlands, or an entire coordinated collection of crochet classroom decor patterns.
The same basic idea can become a classroom-door sign, reading-corner decoration, homeschool wall hanging, teacher gift, photo prop, or back-to-school display.