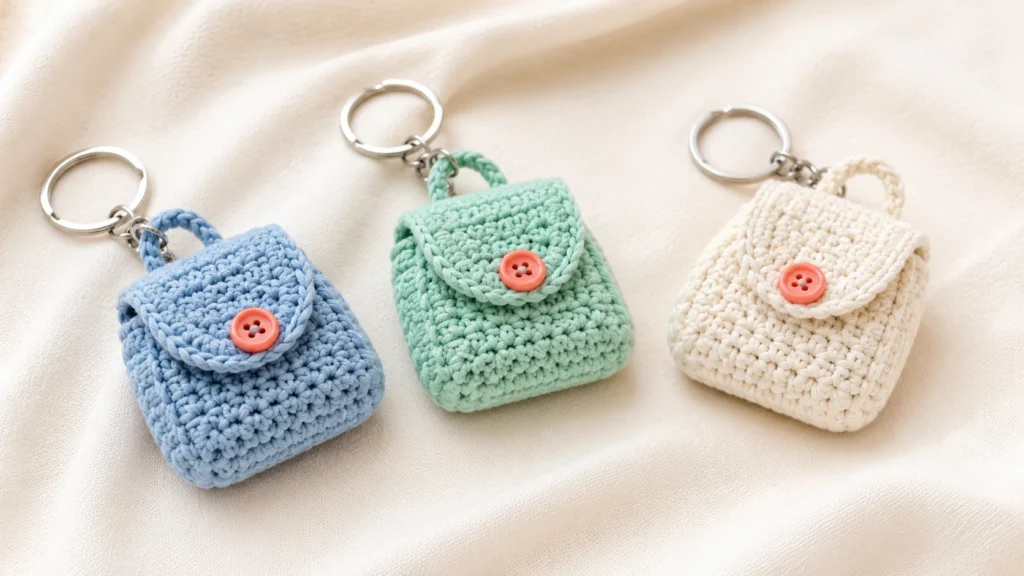
A crochet backpack charm is one of those small projects that feels instantly rewarding. It is quick enough to finish in an afternoon, cute enough to gift, and practical enough to clip onto a school backpack, tote bag, pencil pouch, lunch bag, or key ring. If you are looking for a back-to-school crochet project, this tiny backpack charm is a strong choice because it combines simple crochet stitches with a finished result that looks much more detailed than it really is.
In this tutorial, you will learn how to make a mini crochet backpack charm with a shaped base, small pouch body, flap, button closure, drawstring cord, and key ring attachment. The selected reference tutorial from ByKaterina teaches a backpack keychain worked from a base upward, with the flap continued from the body and the key ring attached during the process. This new article uses that same type of construction as visual research, but the teaching flow, color palette, image prompts, and written pattern explanation are original.
This is a beginner-to-easy project. You should know how to chain, single crochet, slip stitch, work in continuous rounds, and use a stitch marker. If you can already make a small amigurumi-style shape, this backpack charm will feel very approachable.
What You’ll Learn
- How to choose yarn and hardware for a backpack charm.
- How to crochet a small base.
- How to turn the base into a mini pouch body.
- How to work in continuous rounds with a stitch marker.
- How to add a secure key ring attachment.
- How to crochet a small flap.
- How to add a button loop and drawstring cord.
- How to finish the charm neatly so it can handle daily use.
- How to customize the charm for school bags, gifts, and keychains.
Materials You’ll Need
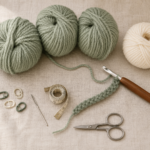
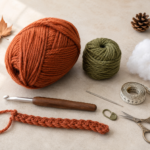
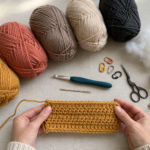
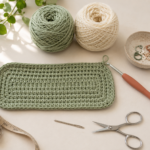
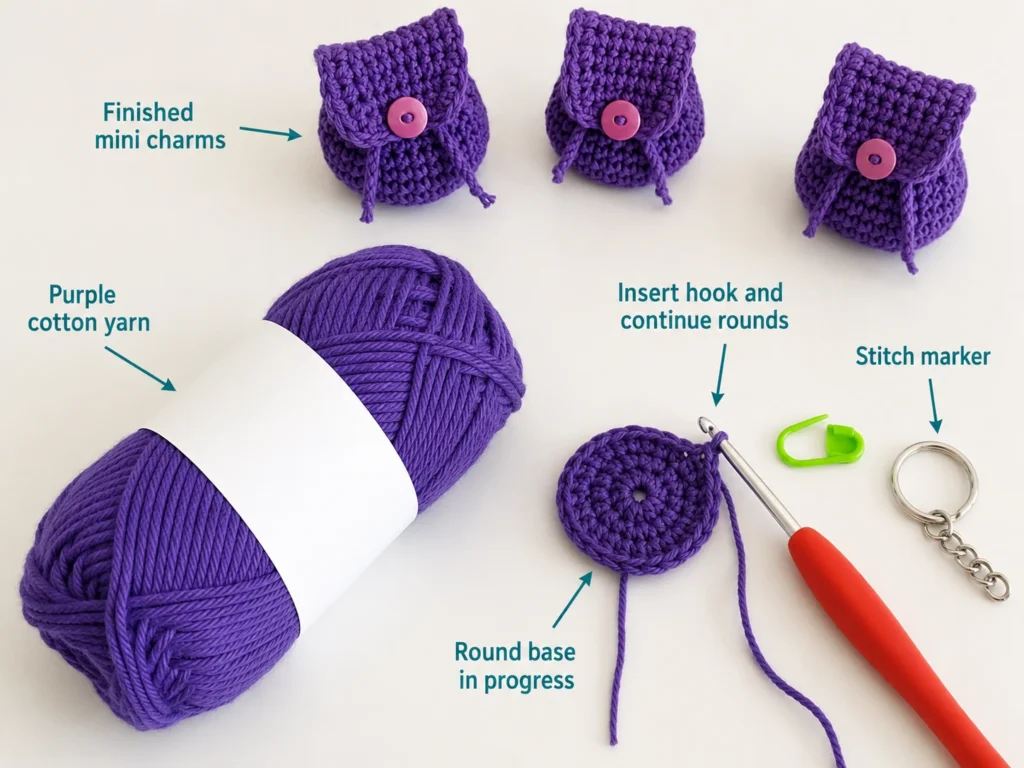
For a small backpack charm, cotton yarn is a good choice because it gives the tiny stitches a neat, defined look. The selected source uses fingering cotton yarn and a 3 mm hook for a finished backpack around 5 cm high and 4 cm wide. You can use sport or DK cotton too, but the charm will be slightly bigger.
You will need:
- Fingering, sport, or DK cotton yarn.
- 2.5 mm–3.5 mm crochet hook.
- Small silver key ring or lobster clasp.
- Stitch marker.
- Small button.
- Tapestry needle.
- Scissors.
- Optional: fabric glue for securing knots.
- Optional: small split ring or jump ring.
- Optional: backpack zipper pull or clasp for styling.
Safety note: this project uses a small button and metal hardware, so it is not suitable for babies or very young children who may put items in their mouths.
Crochet Abbreviations Used
This tutorial uses US crochet terms.
- ch = chain
- sc = single crochet
- sl st = slip stitch
- st/sts = stitch/stitches
- rep = repeat
- BLO = back loop only
- inc = increase, usually 2 sc in the same stitch
US and UK crochet terms can mean different stitches. The Craft Yarn Council lists US single crochet as UK double crochet, so always check which terminology a pattern uses before starting.
Before You Start
This backpack charm is worked like a tiny pouch. You start with a base, build the sides upward, add the key ring near the top, crochet a flap, then add a button and cord. The original ByKaterina source notes that the backpack keychain is made in one single piece, with the base first, the body next, and the flap continued from the body.
Because this project is tiny, gauge is not critical. Still, your yarn and hook choice will change the size. The Craft Yarn Council’s yarn weight system explains that yarn weights and recommended hook sizes are guidelines, so changing yarn thickness will affect the final result.
For a neat backpack charm:
- Use a hook slightly smaller than you normally would for the yarn.
- Keep your single crochet stitches firm but not painful.
- Use a stitch marker in the first stitch of each round.
- Keep the key ring attachment secure.
- Sew the button firmly because it will be handled often.
Step-by-Step Crochet Tutorial
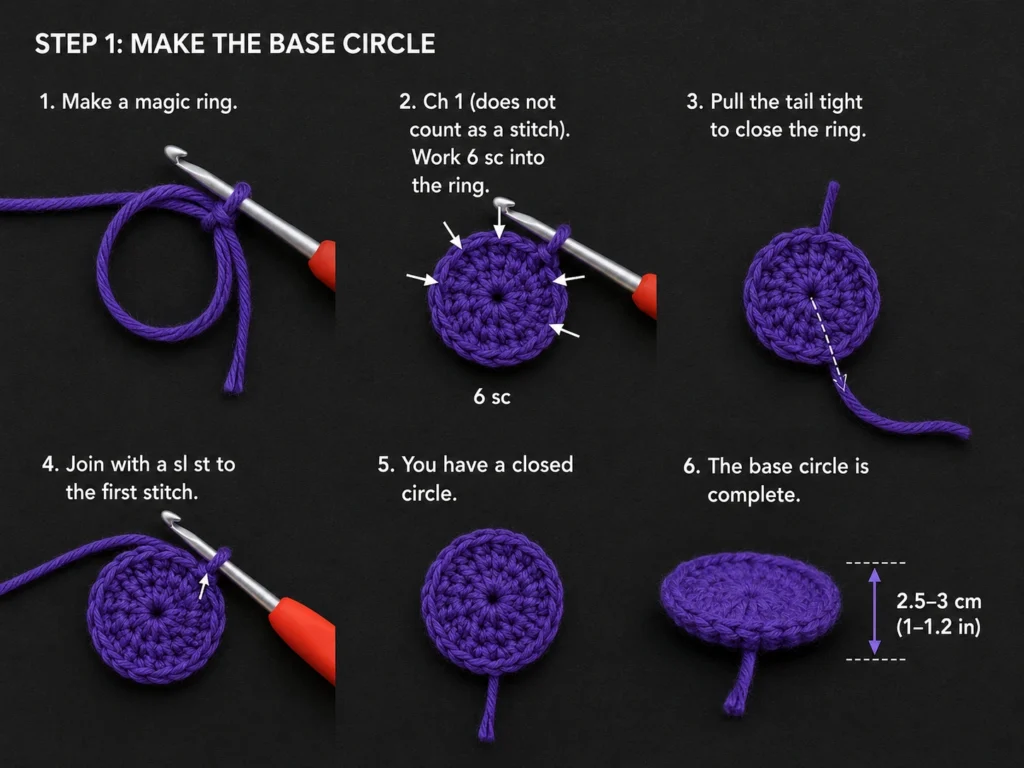
Step 1: Start the Backpack Base
Start with a small magic ring or a short chain base. For beginners, a magic ring creates a rounded base; a short chain creates a slightly oval base. Either method works for a tiny backpack charm.
For this original version, make a small oval-style base:
Chain 8. Work single crochet along one side of the chain, place extra stitches at the end, then work back along the opposite side of the chain. In the next round, increase evenly around the ends so the base becomes a small oval. Your goal is not a large flat circle; it is a small foundation that can become the bottom of the backpack.
Beginner tip: If your base curls slightly, do not panic. It will become the bottom of a tiny pouch.
Common mistake to avoid: Do not make the base too loose. Loose stitches can leave holes at the bottom of the backpack.
Step 2: Work Back Loop Only to Form the Side Wall
Once the base is the size you want, work one round of single crochet in the back loop only. This creates a small ridge that helps the pouch stand upward instead of continuing to grow flat.
Insert your hook only under the back loop of each stitch, yarn over, pull up a loop, then finish the single crochet as usual. Continue around the entire base.
Beginner tip: The back loop is the loop farthest away from you when the top of the stitch looks like a little “V.”
Common mistake to avoid: Do not accidentally work through both loops in this round. The back-loop round is what gives the backpack a cleaner bottom edge.
Step 3: Crochet the Backpack Body
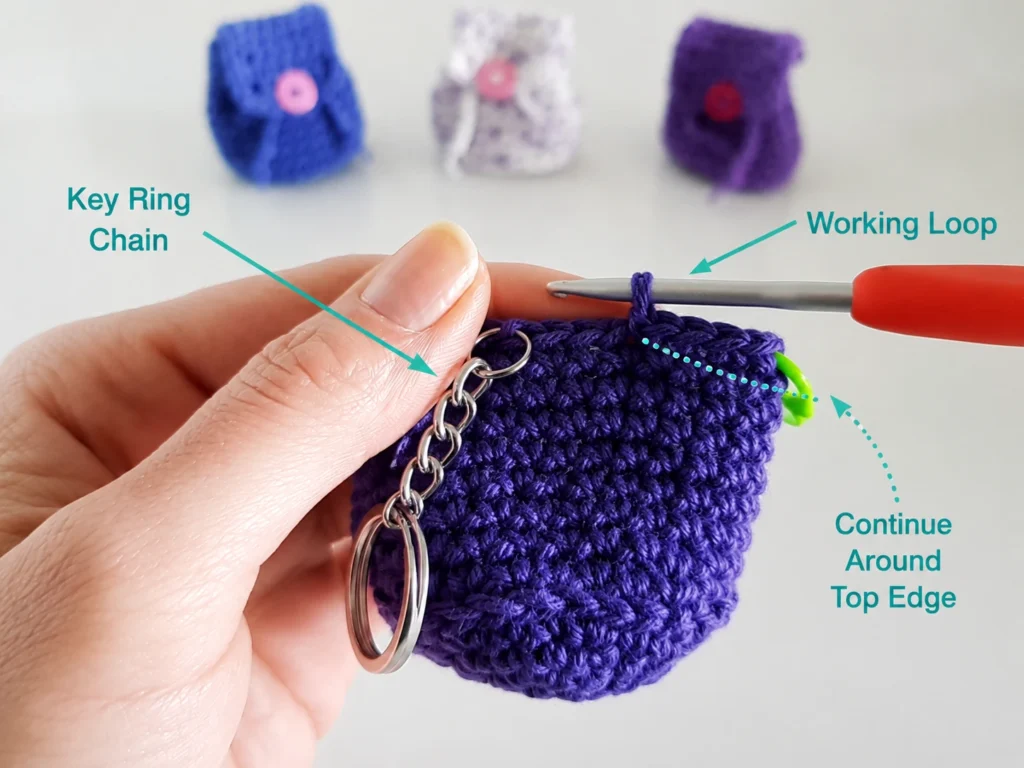
After the back-loop round, continue working single crochet around in continuous rounds. Use a stitch marker to mark the first stitch of every round. This keeps the body even and prevents the spiral from becoming confusing.
Work until the pouch body is tall enough for a backpack charm. For a tiny keychain, the body should look like a small rounded rectangle or soft pouch. If you want it to hold coins or earbuds, make it slightly taller.
Beginner tip: Count stitches every few rounds. Tiny projects can become uneven quickly if you accidentally increase or decrease.
Common mistake to avoid: Do not overstuff the charm or force the pouch open. This is a charm, not a full-size bag.
Step 4: Attach the Key Ring Securely
When the body is almost tall enough, add the key ring attachment. You can crochet over the end chain link or attach a small jump ring later. Crocheting through the metal chain makes the charm feel more integrated and secure.
Place the metal link against the top edge of the backpack body. Insert your hook through the crochet stitch and through the metal link, then complete a single crochet. Work one or two more stitches through the link if the hardware allows.
Beginner tip: Use a smooth metal key ring with no rough edges. Rough hardware can wear through yarn.
Common mistake to avoid: Do not attach the key ring to a weak yarn tail. It should connect to actual crochet stitches.
Step 5: Finish the Top Opening
Work one more round of single crochet around the top opening after attaching the key ring. This helps stabilize the edge. If you want a drawstring, add a simple eyelet round near the top: work a few single crochets, chain one, skip one stitch, and repeat evenly around.
Keep the eyelets small. Large gaps can make the top look messy and may weaken the edge.
Beginner tip: Try threading a scrap yarn cord through the eyelets before finishing to make sure the holes are large enough.
Common mistake to avoid: Do not place eyelets too close to the key ring attachment. Keep that area strong.
Step 6: Crochet the Backpack Flap
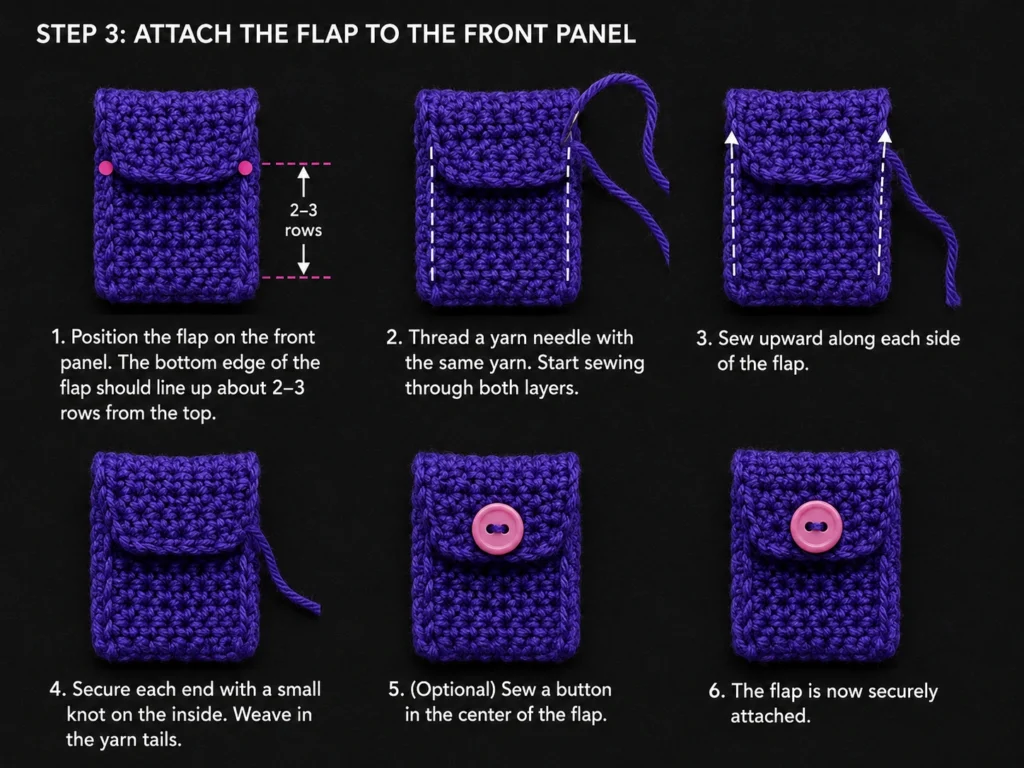
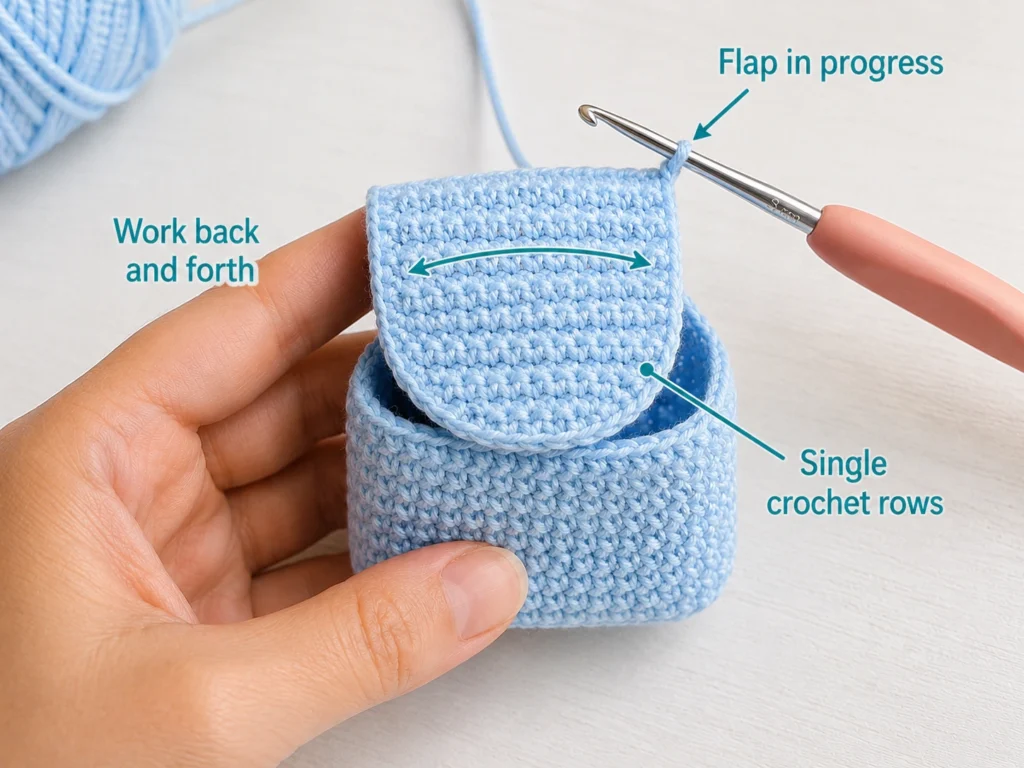
The flap gives the charm its backpack look. Work a short row of single crochet across the back top edge. Then turn and work back and forth for several rows until the flap is long enough to fold over the front.
The flap should cover the top opening without hiding the whole front of the backpack. A slightly rounded or bordered flap looks cute and polished.
Beginner tip: Make the flap one or two rows shorter than you think at first. You can always add a border to make it longer.
Common mistake to avoid: Do not make the flap too wide. A very wide flap can make the charm look boxy.
Step 7: Add the Flap Border and Button Loop
After the flap reaches the right length, work a single crochet border around it. At the center front of the flap, add a small chain loop for the button. The loop should be just big enough to slip over the button without falling off.
Fold the flap over the front and test the button placement before sewing anything permanently.
Beginner tip: Use a smaller button for a tiny charm. A button that is too large can overwhelm the backpack.
Common mistake to avoid: Do not make the button loop too loose. The flap may pop open when clipped to a bag.
Step 8: Add the Drawstring Cord and Button
Make a short cord using chains, slip stitches, or a tiny i-cord. Thread the cord through the eyelet round near the top opening. Pull gently so the top gathers a little, but do not cinch it too tightly.
Sew the button to the front of the backpack. Test the flap closure by pulling the loop over the button. If the loop feels too loose, add a small stitch to shorten it. If it is too tight, remove and remake it before weaving in the ends.
Beginner tip: Use a yarn needle with a blunt tip so you do not split the cotton yarn while weaving the cord.
Common mistake to avoid: Do not leave long loose cord ends if the charm is for a child’s backpack. Keep the ends short and secure.
Pattern Notes or Stitch Notes
This project is worked mostly in continuous rounds, so a stitch marker is important. Move the marker up at the start of each round.
The base controls the width of the backpack. The body rounds control the height. The flap controls the finished backpack look.
Use firm single crochet stitches. Tiny charms look cleaner when the stitches are close together.
If your charm leans to one side, check whether you are accidentally adding or losing stitches. For a very small project, even one extra stitch can change the shape.
For a bigger charm, use DK yarn and a larger hook. For a smaller charm, use fingering cotton and a smaller hook.
Common Beginner Mistakes
- Forgetting the stitch marker: Continuous rounds are easy to lose track of. Mark the first stitch.
- Making the base too loose: Loose base stitches can create holes at the bottom.
- Weak key ring attachment: Attach the hardware through sturdy crochet stitches, not only a yarn tail.
- Flap too long: A long flap hides the shape of the mini backpack.
- Button loop too large: The closure may slip open when the charm moves.
- Cord ends too long: Long cords can catch on zippers or backpack straps.
- Ignoring small-part safety: Buttons and key rings are not safe for babies or toddlers.
How to Customize This Crochet Project
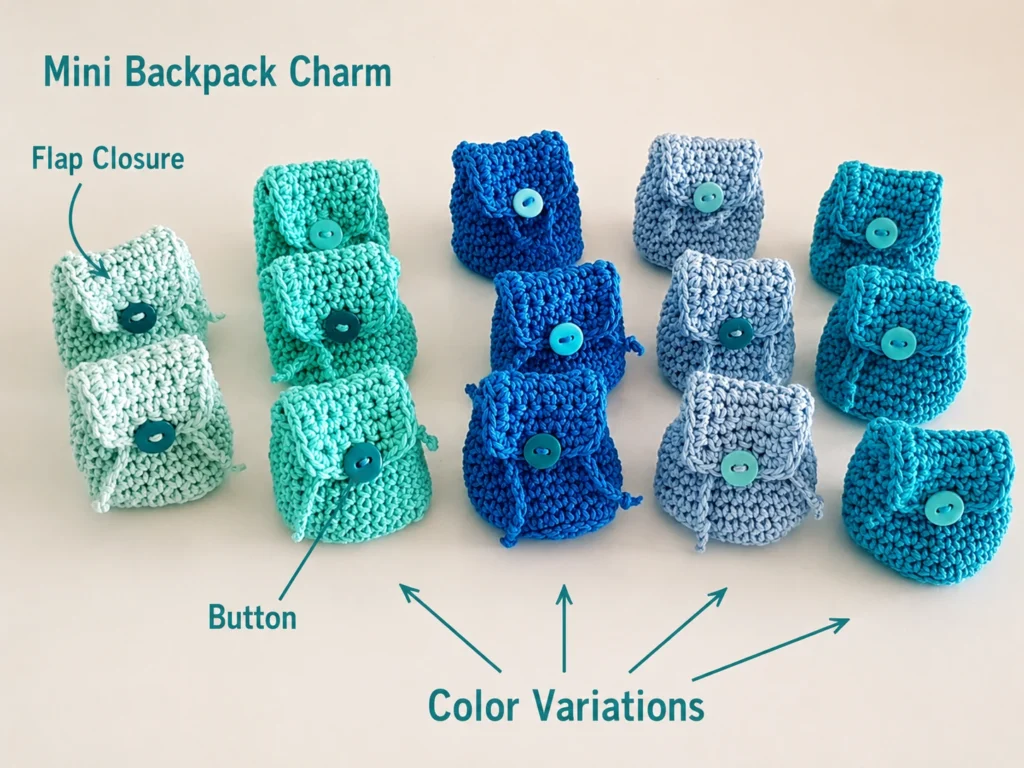
You can make this backpack charm in school colors, favorite colors, or seasonal palettes. For back-to-school, try navy and yellow, teal and cream, lavender and white, or red and gray.
For yarn changes, cotton gives the neatest stitch definition. Acrylic can work if you use a smaller hook, but it may look fuzzier. Thicker yarn makes a larger charm.
For closure options, use a button, bead, tiny toggle, or embroidered faux button. If the charm is for a younger child, consider embroidering a button shape instead of sewing on a real button.
For texture, add a contrasting flap border, tiny embroidered initials, a mini patch, or a front pocket shape. Keep embellishments small so the charm still clips easily to a backpack zipper.
For gift ideas, make a set of backpack charms for classmates, teachers, craft fairs, party favors, or back-to-school baskets.
Finishing Instructions
Fasten off and weave all ends inside the backpack body. Tug gently on the key ring and button to make sure they are secure. If the cord ends are long, trim them neatly after tying small knots.
Cotton charms usually do not need heavy blocking, but you can lightly shape the backpack with your fingers. If the flap curls, dampen it slightly, smooth it flat, and let it dry. The Craft Yarn Council describes blocking as a way to help stitches settle and achieve the shape and drape you want.
Quick Printable-Style Summary
- Skill level: Beginner to easy
- Project type: Crochet backpack charm / mini keychain
- Yarn: Fingering, sport, or DK cotton
- Hook: 2.5 mm–3.5 mm
- Main stitches: Chain, single crochet, slip stitch, back loop only
- Starting method: Small magic ring or oval base
- Construction: Base, body rounds, key ring attachment, flap, border, button loop, drawstring
- Finishing: Sew button, thread cord, weave ends, check hardware security
FAQ
Is a crochet backpack charm good for beginners?
Yes. It is small, quick, and mostly uses single crochet. The trickiest parts are keeping track of rounds and attaching the key ring securely.
What yarn is best for a crochet backpack charm?
Cotton yarn works very well because it gives crisp stitch definition. Fingering or sport weight makes a tiny charm, while DK makes a larger charm.
Can I make this without a key ring?
Yes. You can make it as a doll backpack, plushie accessory, ornament, or small pouch. Add the key ring only if you want it to clip onto a bag.
Can I use safety eyes or felt decorations?
You can, but keep safety in mind. Small parts are not suitable for babies or toddlers. For a safer option, embroider details with yarn.
How do I make the backpack charm bigger?
Use thicker yarn, a larger hook, or add more base and body rounds. Keep the flap proportional so it still looks like a backpack.
Why is my mini backpack leaning?
You may have added or skipped stitches in the body rounds. Count your stitches and use a marker at the start of every round.
Can I sell finished backpack charms from this tutorial?
You can sell finished items made from your own work, but do not copy or redistribute another designer’s pattern text or images. Always check the usage terms of any specific pattern you follow.
Conclusion
A crochet backpack charm pattern is a perfect small project for back-to-school season, gift making, or stash-busting. It uses simple stitches but still gives you a complete mini accessory with a base, body, flap, button, cord, and key ring. Once you make one, it is easy to customize the colors and details for different backpacks, school themes, or handmade gifts.