Are you tired of throwing away brown paper sacks or hauling your meals around in uninspiring plastic grocery bags? It’s time to upgrade your midday meal routine!
This free crochet lunch bag pattern is the perfect solution for anyone wanting an eco-friendly, stylish, and highly durable tote for their food. Whether you are packing a bento box for the office, sending snacks to school with your kids, or packing a couple of sandwiches for a weekend picnic, this bag is sturdy enough to handle it all.
The best part? This pattern is incredibly beginner-friendly. If you know how to make a single crochet stitch and can crochet in a straight line, you can make this bag. There is no complicated shaping, no confusing decreases, and no crocheting in the round required for the main body. We will be building this bag using three simple flat rectangles, then seaming them together for a professional, boxy finish.
Grab your favorite cotton yarn and let’s dive into the ultimate step-by-step tutorial!
Why Choose Cotton Yarn for a Lunch Bag?
Before we get to the pattern, let’s talk about yarn choice. It can be tempting to grab that soft, fluffy acrylic yarn from your stash, but for a lunch bag, 100% cotton yarn is absolutely non-negotiable.
Here is why cotton is the best choice for this project:
- Zero Stretch: Acrylic and wool yarns have a lot of give. If you put a heavy glass Tupperware container into an acrylic bag, it will sag down to your knees. Cotton is rigid, inelastic, and holds its structural shape beautifully, especially when worked in tight single crochet stitches.
- Washability: Lunch bags get dirty. Spilled dressing, leaky thermoses, and sticky fruit are inevitable. Cotton yarn can be thrown directly into the washing machine (and even the dryer!) without melting, felting, or losing its structural integrity.
- Moisture Absorption: If your ice pack sweats during the morning commute, cotton will absorb the condensation rather than letting it pool at the bottom of your bag.
For this tutorial, a sturdy worsted weight (#4) cotton yarn is highly recommended.
Skill Level, Size, and Time Commitment
- Skill Level: Advanced Beginner. (You only need to know the chain stitch and single crochet stitch, plus how to sew pieces together).
- Finished Size: Approximately 9 inches wide by 12 inches tall, with a 3.5-inch deep gusset. (This is large enough to hold a standard square food container, an apple, and a water bottle).
- Estimated Time: 4 to 6 hours, depending on your crochet speed. This is an excellent weekend project!
Materials You Will Need
To crochet this lunch bag, gather the following supplies:
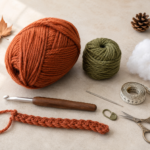
- Yarn: 3 to 4 skeins (approx. 350-400 yards) of Worsted Weight (#4) 100% Cotton Yarn. (Suggested brands: Lily Sugar ‘n Cream, Lion Brand 24/7 Cotton, or Crafter’s Secret Cotton).
- Hook: 4.5 mm (US 7) or 5.0 mm (US H-8) crochet hook. (We recommend sizing down slightly from the yarn label’s suggestion to ensure your stitches are tight and gap-free).
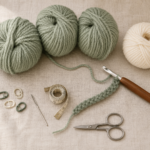
- Notions: A tapestry needle (yarn needle) for seaming and weaving in ends.
- Tools: Sharp scissors and stitch markers (optional, but helpful for seaming).
Crochet Abbreviations Used
This tutorial uses US crochet terminology.
- ch = chain
- sc = single crochet
- hdc = half double crochet
- sl st = slip stitch
- st/sts = stitch/stitches
- rep = repeat
- BLO = back loop only
- FLO = front loop only
- rnd = round
- RS = right side
- WS = wrong side
These abbreviations follow common US crochet terminology listed by the Craft Yarn Council. The Council also notes that US and UK stitch names differ—for example, US single crochet corresponds to UK double crochet.
Before You Start
Finished size
The original version described here is designed to finish at approximately:
- 8.5 inches wide
- 4.5 inches deep
- 9 inches tall without the handle
Treat these measurements as a guide. The easiest way to get a truly useful lunch bag is to size the base directly against the container you normally carry.
Gauge
Aim for approximately:
- 15 single crochet stitches = 4 inches
- 16 single crochet rows = 4 inches
A small difference in gauge will not ruin a lunch bag, but it will change the final dimensions.
Measure your lunch container first
Place your closed container on a flat surface and measure:
- Width.
- Depth.
- Height.
Your finished crochet base should be slightly larger than the width and depth of the container. Remember that a dense cotton bag may relax slightly with use.
How to count your stitches
When working joined rounds:
- Put a stitch marker into the first actual stitch of the round.
- Complete the round.
- Slip stitch to the marked stitch.
- Make the turning chain required for the next round.
- Do not accidentally crochet into the slip stitch itself.
The selected source also uses joined rounds, specifies that certain beginning chains do not count as stitches, and recommends keeping markers at the corners.
How to keep the base flat
A flat crochet base depends on balanced increases.
If it ruffles, you probably have too many increases.
If it cups upward too soon, you probably have too few.
Lay the base flat after every round before proceeding.
Yarn color choice
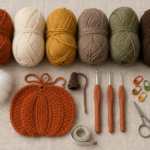
For an easy-to-follow photo tutorial, strong but gentle contrast works best. This article uses:
- Soft sage green for the lower bag and handle.
- Warm cream for contrast.
- Small alternating sections of both colors near the top.
Using the same two colors in every generated image will make the tutorial look as if it was photographed in one continuous session.
Step-by-Step Crochet Tutorial
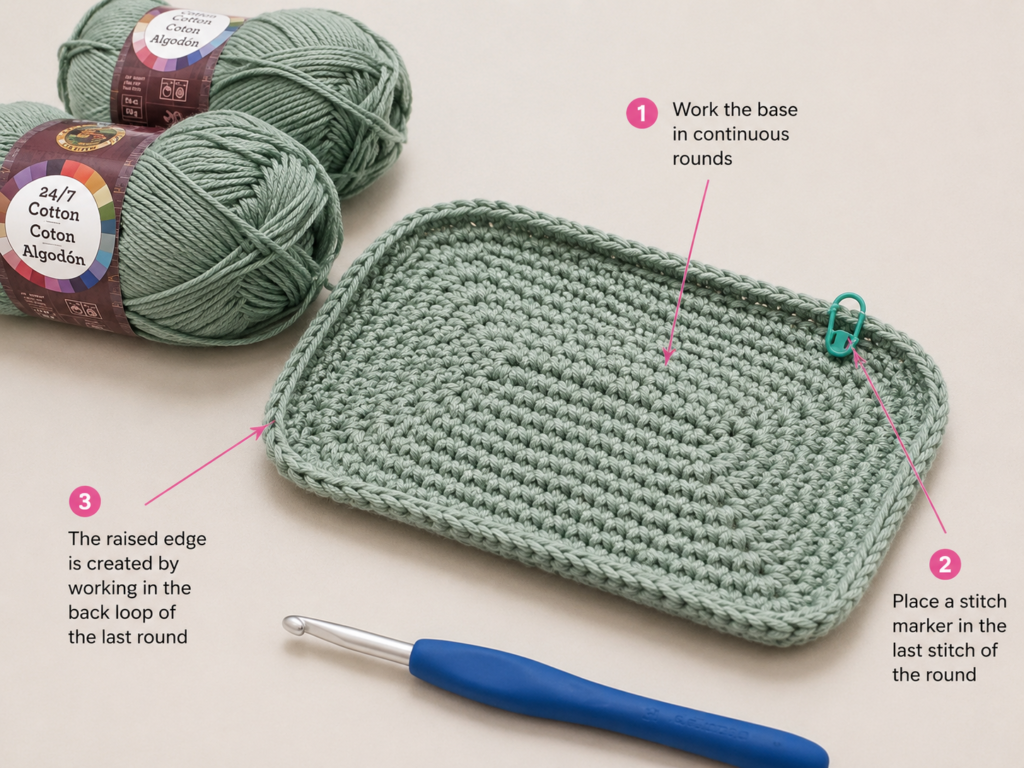
Step 1: Crochet the Flat Base
Start with the sage-green yarn.
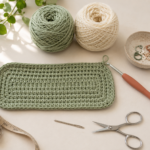
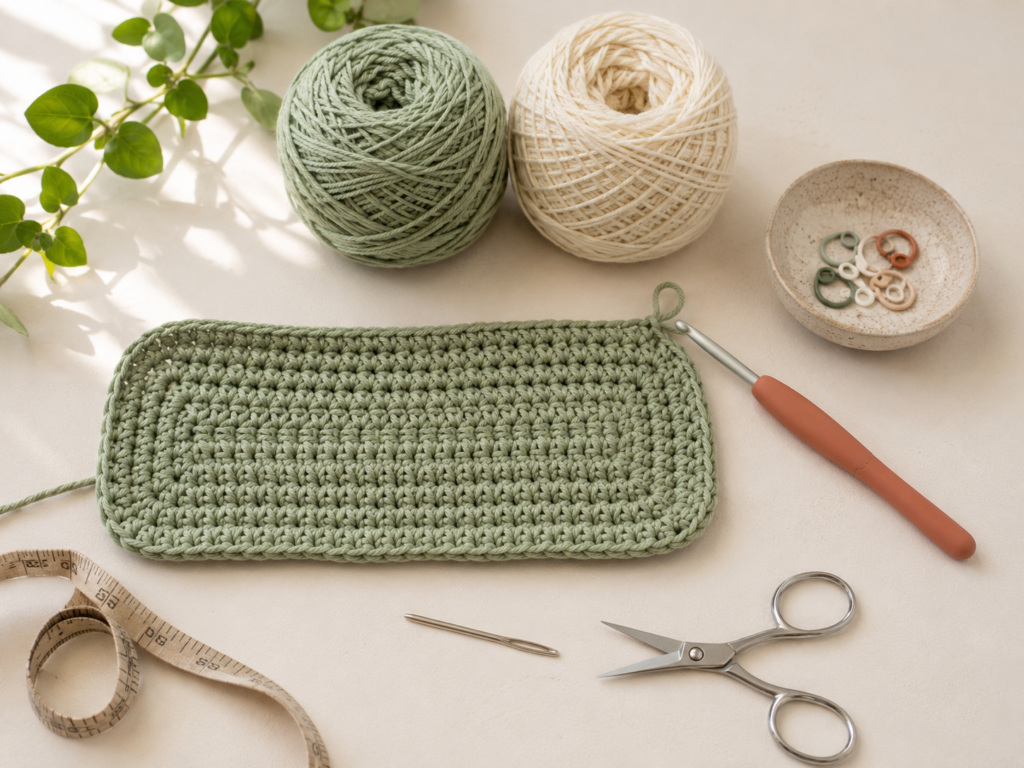
Make a foundation chain that is several inches shorter than your intended final base length. For the approximate dimensions in this tutorial, begin with around 22 chains, but treat this number as adjustable because yarn and tension vary.
Work single crochet along one side of the chain. At the final chain, work several stitches into the same space so you can turn around the end smoothly.
Now crochet along the unused loops on the opposite side of the foundation chain. Work several stitches into the opposite end as well.
You should now have a long, narrow oval.
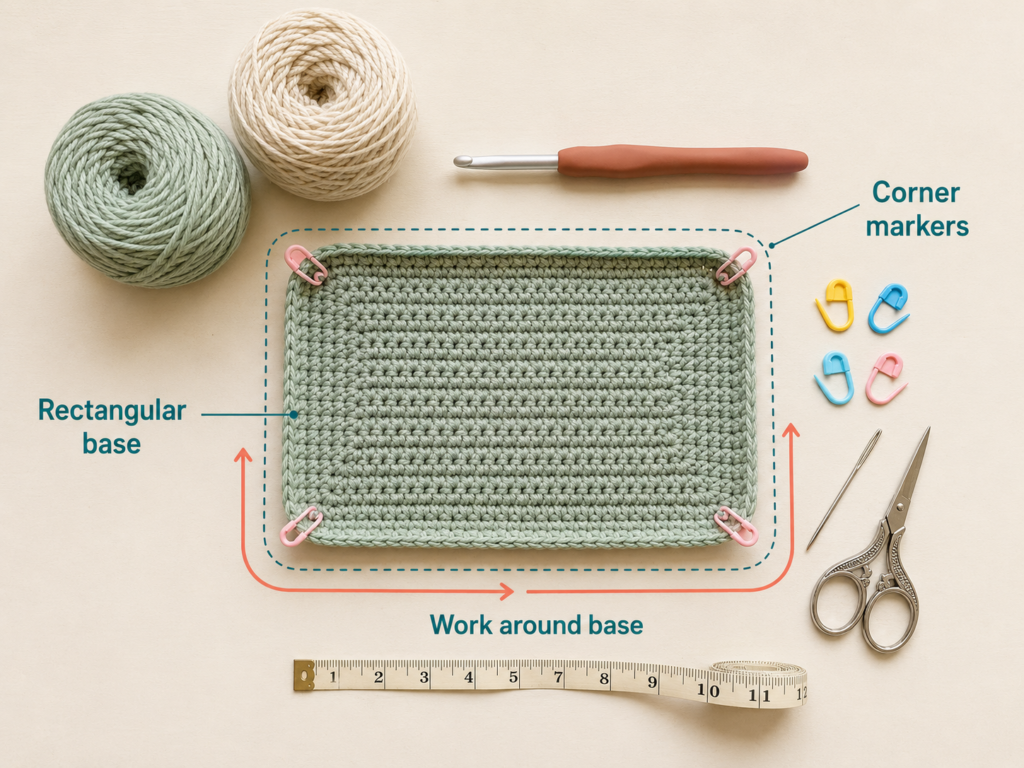
For the following rounds, increase around the curved ends while keeping the long central sections relatively straight. As the base expands, place four locking stitch markers at the transition points that will eventually behave like corners.
Continue until the base is approximately 8.5 × 4.5 inches, or until it comfortably fits beneath your usual lunch box.
Beginner tip: Put the actual container directly on the crochet base after every round. Measurements are useful, but a physical fit check is even clearer.
Common mistake to avoid: Do not scatter increases randomly along the long sides. That can make the base wavy.
Step 2: Turn the Flat Base Into Bag Walls
When the base reaches the desired size, stop increasing.
Work one round of single crochet through the back loops only. This creates a visible ridge around the bottom and encourages the new stitches to turn upward.
On the following round, switch to ordinary half double crochet through both loops.
Continue working joined rounds without increasing.
Keep one stitch marker in the first real stitch of each round. You can leave the corner markers in place for the first few wall rounds, although the shape will naturally become softer as the bag gains height.
Work until the solid lower portion measures approximately 4–5 inches tall.
Beginner tip: Set the bag upright every two or three rounds. It should stand evenly with the base remaining reasonably flat.
Common mistake to avoid: Do not add a stitch every time you join. Crocheting into the joining slip stitch by accident can make the bag gradually wider.
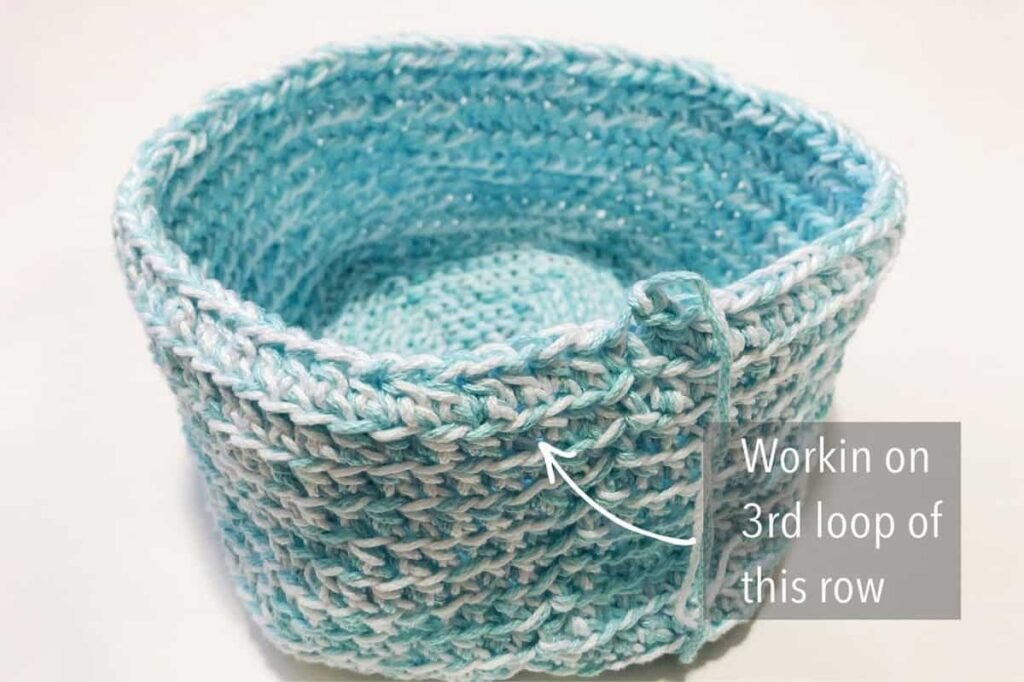
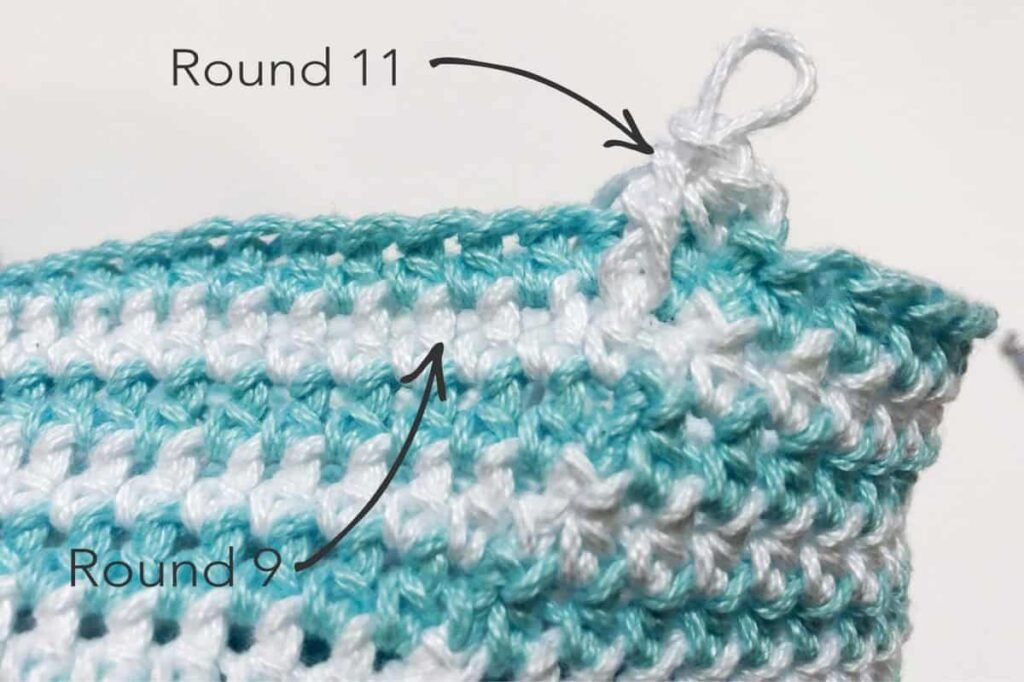
Step 3: Find the Third Loop of the Half Double Crochet
Make one final ordinary half double crochet round in sage green.
Now look carefully at the top of one hdc stitch.
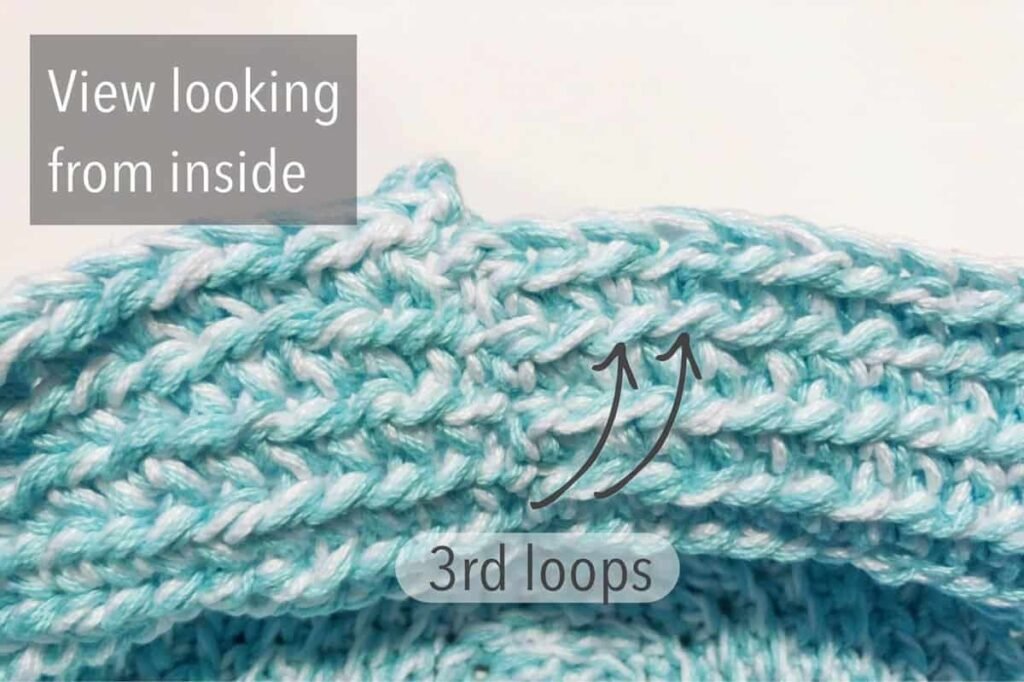
The usual front and back loops make a V shape. Behind that V is another horizontal strand: the third loop.
Tilt the top edge of the bag toward yourself and look from the inside. You may find the extra loop easier to identify there.
Insert your hook under that third strand only.
When you work a whole round into the third loop, the normal top V is pushed toward the outside of the fabric, creating a distinct decorative ridge.
The original source uses this same third-loop technique in the transition area between the lower bag and the upper section.
Beginner tip: Use your fingers to separate the loops before inserting the hook. Once you recognize the third loop a few times, the technique becomes much easier.
Common mistake to avoid: Do not confuse the back loop with the third loop. The back loop is part of the top V; the third loop sits behind it.
Step 4: Add the Cream Upper Section
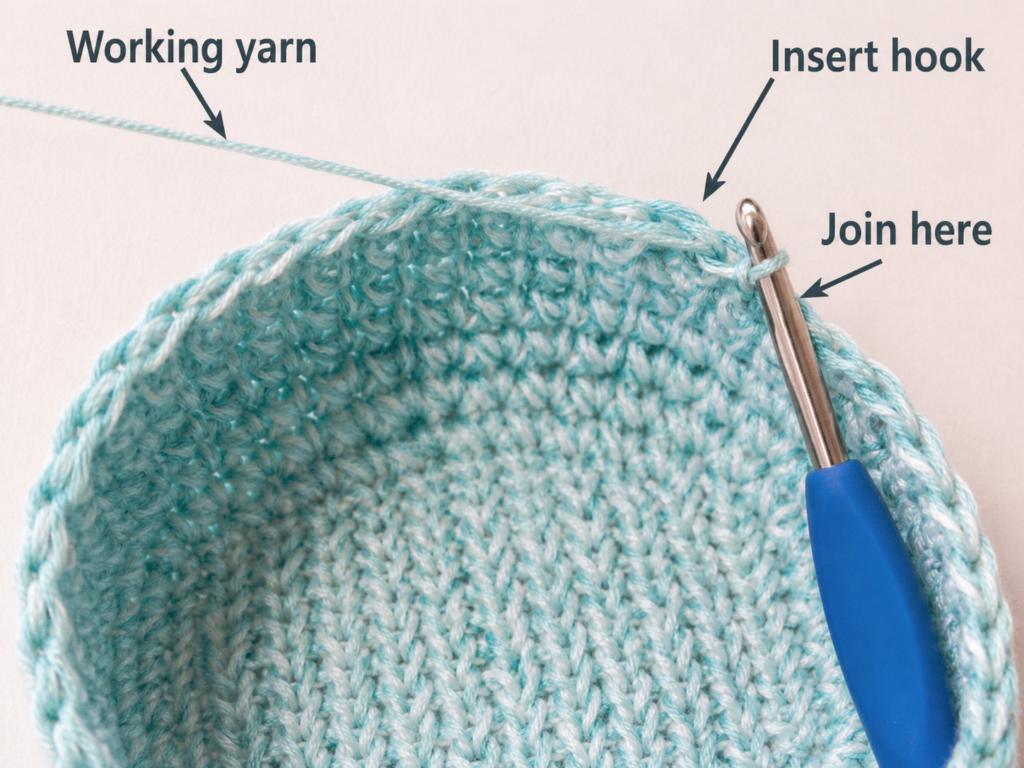
Join the warm cream yarn.
Work one full round of half double crochet into the third loop of the previous sage round.
As the round develops, you should see a neat horizontal ridge forming on the outside.
After that transition round, return to working regular half double crochet through both loops.
For a simple striped look, repeat:
- 1 cream round.
- 1 sage round.
- 1 cream round.
- 1 sage round.
Continue until the upper portion is about 3 inches tall before the eyelet round.
To reduce yarn ends, carry the unused color neatly up the inside near the round join instead of cutting after every round.
Beginner tip: To change colors cleanly, begin the final stitch in the old color, then use the new color for the last yarn-over that completes the stitch.
Common mistake to avoid: Do not pull the inactive yarn tightly while carrying it. Tight strands can gather one side of the bag.
Step 5: Make the Drawstring Eyelet Round
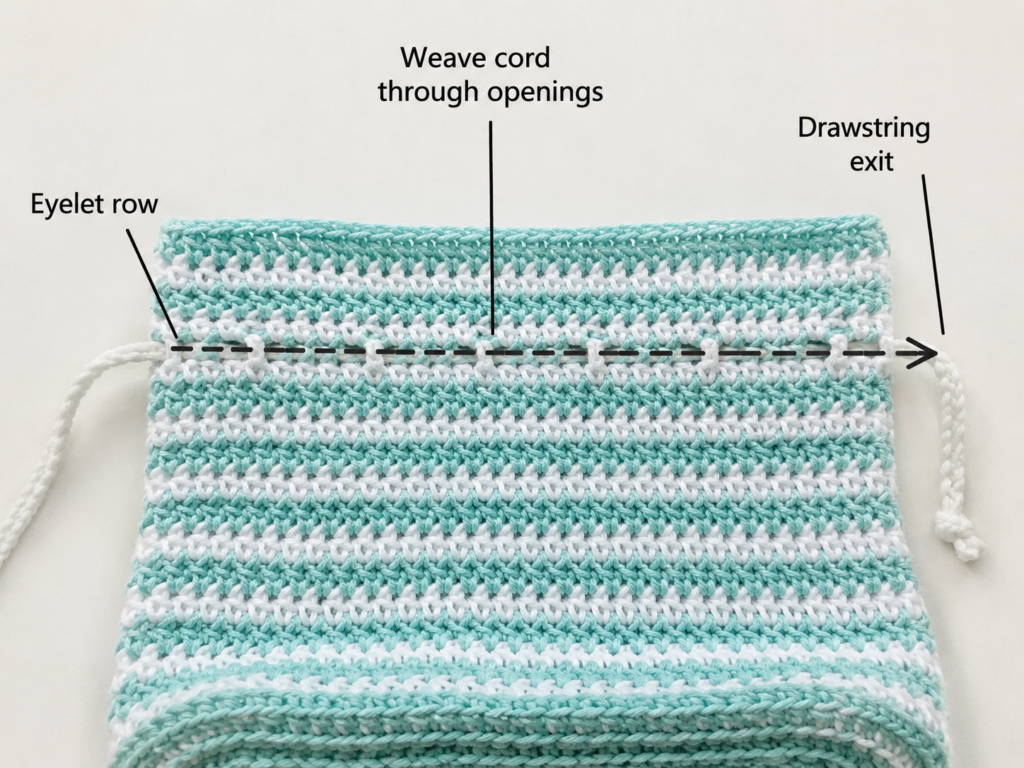
Now create the openings for your braided drawstrings.
A simple beginner-friendly repeat is:
- Work several hdc stitches.
- Chain 1.
- Skip 1 stitch.
- Continue in hdc.
- Repeat evenly around.
The exact number of normal stitches between openings depends on your total stitch count. Aim for around 12–16 evenly distributed openings.
Before finishing the round, count the spaces. Adjust the final section if necessary so the openings look balanced.
Then work two ordinary hdc rounds above the eyelets.
These extra rounds strengthen the top edge and prevent the cords from sitting too close to the rim.
Beginner tip: Mark quarter points around the bag before starting the eyelet round. This makes it easier to distribute openings evenly.
Common mistake to avoid: Do not create oversized gaps. A small chain-1 opening should be enough for a medium braided cotton cord.
Step 6: Make and Thread Two Braided Drawstrings
Cut six equal strands of cotton yarn.
For a medium lunch bag, begin with strands around 36 inches long. You can trim them later.
Divide the strands into two groups of three.
For the first cord:
- Use two sage strands and one cream strand.
- Knot the top.
- Braid evenly.
- Knot the opposite end.
For the second cord:
- Use two cream strands and one sage strand.
- Repeat.
Thread the first braid through every eyelet, entering and exiting on the left side.
Thread the second braid in the opposite direction, entering and exiting on the right.
When both sets of cord ends are pulled outward, the top should gather evenly.
The selected source similarly uses two braided cords in the closure system, although its exact stitch construction is different from the simplified eyelet version here.
Beginner tip: Attach a large safety pin to one end of the braid and use it as a guide.
Common mistake to avoid: Do not thread both cords in the same direction. Opposing cords produce a more even drawstring closure.
Step 7: Crochet a Strong Handle
With sage yarn, make a narrow, dense strip.
A simple version is:
- Chain 7.
- Single crochet across.
- Turn and chain 1.
- Continue in single crochet until the handle reaches approximately 15–17 inches.
The handle should feel firm rather than loose and stretchy.
Fasten off, leaving a long sewing tail at each end.
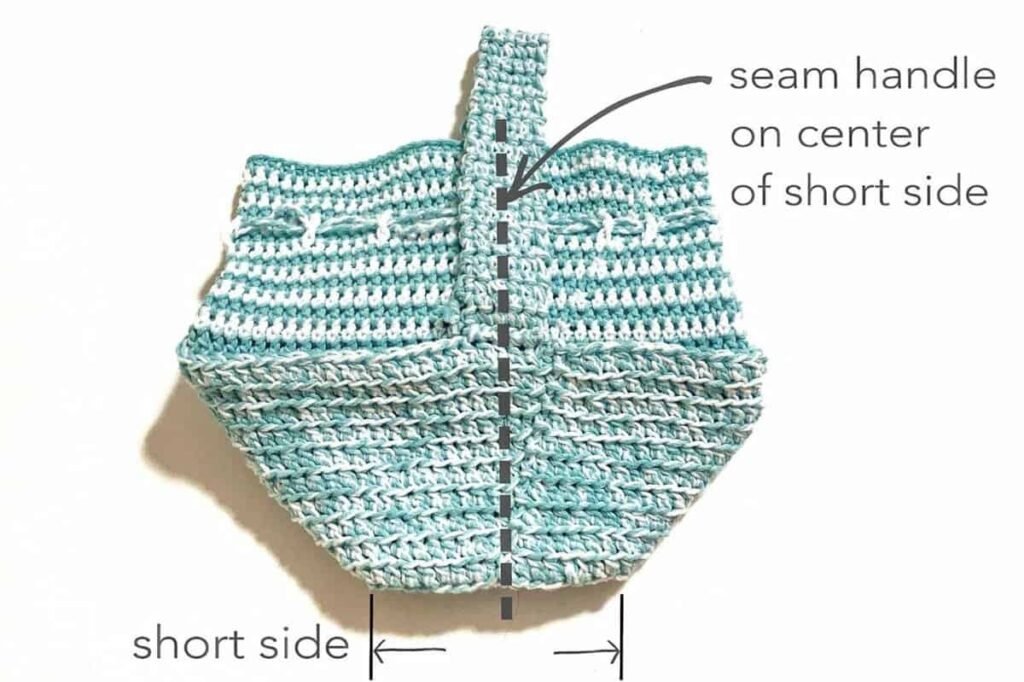
Lay the bag flat and identify the center of each short side. Pin or mark the handle ends in place before sewing.
Use the tapestry needle to sew each handle end through several rows of the bag. Pass through the attachment area multiple times.
The selected source likewise emphasizes centering the handle on the short sides and reinforcing the attachment points with repeated sewing.
Beginner tip: Place your lunch container inside before making the final stitches. This helps you see whether the handle is truly centered when the bag has weight in it.
Common mistake to avoid: Never rely on one thin row of stitches to support the whole handle. Spread the attachment across several rows.
Step 8: Test the Bag Before Final Finishing
Place your normal closed lunch container inside.
Check:
- Does the base stay flat?
- Is there enough room around the container?
- Do the sides stay reasonably upright?
- Do both drawstrings gather the opening evenly?
- Does the handle sit in the center?
- Do the handle attachment points feel secure?
Carry the loaded bag around the room briefly.
Look closely at the handle seams. Add more reinforcement stitches anywhere that looks strained.
Beginner tip: Make structural corrections before weaving in all the tails. It is much easier to adjust the handle or closure while the ends remain accessible.
Common mistake to avoid: Do not pull the drawstrings until the upper fabric becomes a hard, tight knot. A gentle gather is enough.
Pattern Notes or Stitch Notes
Turning chains
For joined hdc rounds, decide whether your starting chains count as a stitch and remain consistent.
In this tutorial, they do not count as a stitch.
The selected reference source follows the same principle for several hdc sections of its original pattern.
Stitch count
Once the side walls begin, stop increasing.
Maintain exactly the same stitch count around the bag until you deliberately create the eyelet round.
Count every two or three rounds.
Round joins
Always join into the first actual stitch, not the turning chain and not the previous slip stitch.
A misplaced join can gradually add or remove stitches.
Right side and wrong side
The outside is the right side.
Keep carried yarn and most woven tails on the inside.
Third-loop rule
The third loop sits behind the ordinary top V of an hdc stitch. Working into it pushes that V forward to form a decorative ridge.
Size adjustment
For a larger lunch box:
- Enlarge the base before working the walls.
- Maintain the new stitch count throughout the body.
For a taller lunch bag:
- Add extra ordinary rounds before the eyelets.
For a smaller child’s snack bag:
- Make a shorter starting chain and stop expanding the base earlier.
Common Beginner Mistakes
1. The base is ruffling
Cause: Too many increases.
Fix: Remove the last round and repeat it with fewer increases.
2. The base is cupping too early
Cause: Too few increases.
Fix: Add increases around the curved ends until the work lies flat.
3. The bag becomes wider every round
Cause: You are probably crocheting into the joining slip stitch.
Fix: Mark the first true stitch before beginning every round.
4. The side seam travels diagonally
Some movement of a joined-round seam is normal, but excessive shifting can come from inconsistent joins or added stitches.
Keep the same joining method on every round.
5. The color transition looks jagged
Complete the last yarn-over of the previous stitch with the new color instead of finishing the entire stitch before changing yarn.
6. You cannot find the third loop
Turn the top edge toward yourself and look from the inside. Separate the normal top V with your fingers; the third horizontal strand is behind it.
7. The eyelets are uneven
Mark the bag into four equal quarters before creating the openings. Distribute the same approximate number of eyelets in every quarter.
8. The handle stretches too much
Use dense single crochet, shorten the handle if necessary, and sew through several rows at both attachment points.
How to Customize This Crochet Project
Yarn changes
Smooth cotton provides clear stitch definition and a firm fabric. The source tutorial also uses medium-weight cotton for its lunch bag.
Other options include:
- Cotton-acrylic blend for a lighter bag.
- Recycled cotton for a rustic look.
- Cotton tape yarn for a modern basket-like texture.
Avoid very fuzzy yarn for your first version because it makes stitch anatomy more difficult to see.
Color combinations
Try:
- Sage + cream.
- Navy + mustard.
- Terracotta + oatmeal.
- Dusty rose + burgundy.
- Sky blue + white.
- Charcoal + mint.
Size changes
Measure your actual lunch container first.
The base is the key to sizing. Once the base fits, the walls simply rise from it.
Border options
You can finish the upper edge with:
- One round of single crochet.
- Reverse single crochet for a firm decorative edge.
- Slip stitches for a minimalist finish.
Texture options
After completing one beginner version, you could experiment with:
- Moss stitch.
- Waistcoat stitch.
- Alternating front-loop and back-loop rounds.
- Wider color blocks.
- Simple surface slip stitch decoration.
Lining options
The crochet shell itself is not inherently insulated or leakproof. For easier cleaning or temperature control, use closed food containers and consider adding a separate removable fabric or insulated insert.
Gift and use ideas
This design can also become:
- A child’s snack bag.
- Small purse.
- Crochet project bag.
- Reusable gift bag.
- Small toy-storage bag.
- Picnic accessory.
The source itself presents its design as suitable both as a lunch bag and as a child’s purse.
Finishing Instructions
Weave all yarn tails securely into the inside of the fabric.
At color changes, weave the ends in different directions so they are less likely to work loose.
Inspect both handle attachments carefully. Add more sewing passes through the corners if necessary.
Trim the braided cords evenly and secure the ends.
Lightly dampen the bag if the base or upper edge needs reshaping. Place it over an appropriately sized clean container or shape it gently by hand, then allow it to dry completely.
Always follow the care information for the specific yarn you actually use; yarn labels typically include fiber content and care details.
Quick Printable-Style Summary
- Skill level: Advanced beginner
- Project type: Crochet lunch bag
- Finished size: Approximately 8.5″ wide × 4.5″ deep × 9″ tall
- Yarn: Medium-weight cotton in sage green and warm cream
- Hook: 5.0 mm
- Main stitches: Chain, single crochet, half double crochet, slip stitch, back loop only, third-loop hdc
- Starting method: Foundation chain worked around both sides to create an expanding rounded-rectangle base
- Main repeat: Even hdc rounds for the body
- Closure: Two opposing braided drawstrings
- Handle: Dense single crochet strip reinforced on both short sides
- Finishing: Weave ends, reinforce handle, test closure, lightly shape if needed
FAQ
Is this crochet lunch bag pattern suitable for beginners?
It is best for an advanced beginner who already knows chains, single crochet, half double crochet, and slip stitches. The only less-common technique is crocheting into the third loop, which is explained in detail.
What yarn should I use?
A smooth medium-weight cotton is a practical choice because it gives visible stitch definition and helps create relatively firm bag fabric.
Can I make it in one color?
Yes. Use one yarn color for the entire bag and simply continue through the upper section without changing colors.
How do I make the lunch bag larger?
Continue expanding the base until it fits beneath your actual lunch container. Once you start the walls, maintain the new stitch count without further increases.
Why is my base wavy?
A wavy or ruffled base usually has too many increases. Remove the most recent round and repeat it with fewer added stitches.
Why does my base cup upward?
Cupping before you intend to start the walls usually indicates too few increases. Add extra increases around the curved ends.
Can I add insulation?
Yes. A removable insulated insert can be placed inside the crochet shell. Keeping the insert removable makes cleaning and replacement simpler.
Conclusion
A crochet lunch bag pattern is a satisfying next step after basic flat projects because it introduces useful three-dimensional construction without requiring complicated shaping.
You begin with a simple flat base, build sturdy walls, add a clean third-loop transition, create a contrasting upper section, make openings for two braided drawstrings, and finish with a strongly reinforced handle.
Once you understand that construction logic, the same method can be adapted for snack bags, small purses, project bags, gift bags, and other reusable containers.